3 Great Reasons to Collaborate

scandinavian-kids-room3-powerful-reasons-to-collaborate

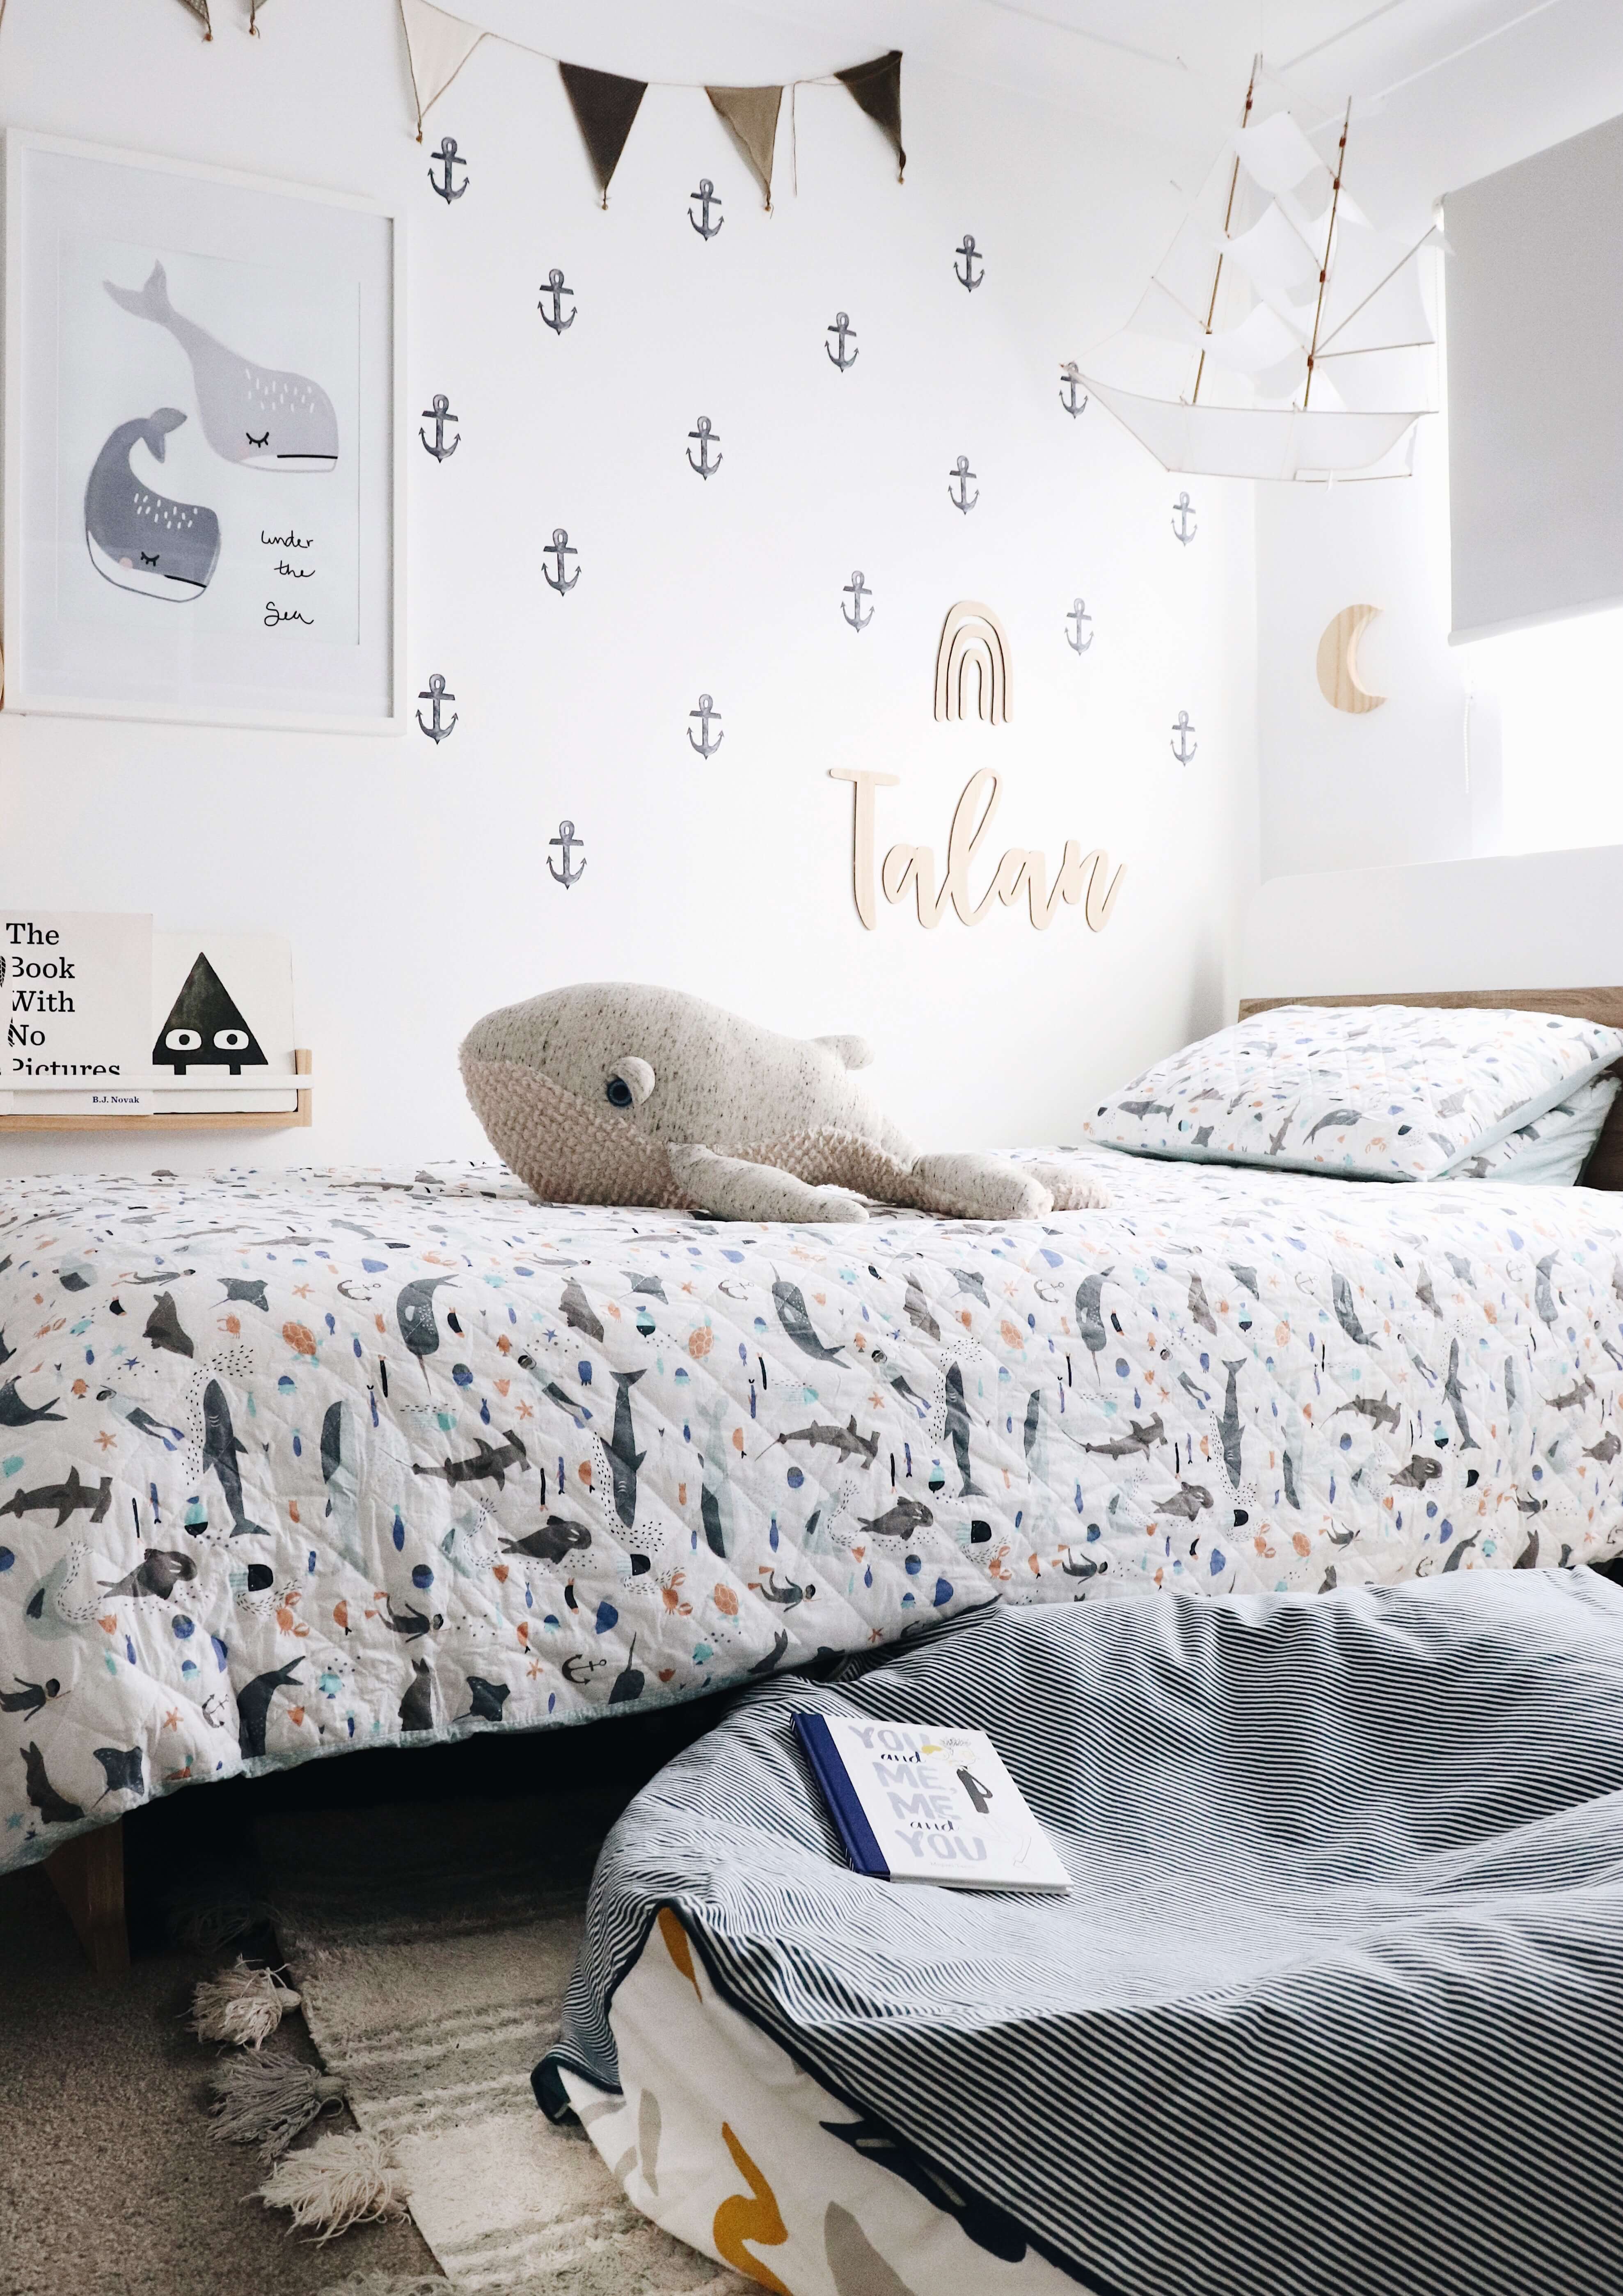
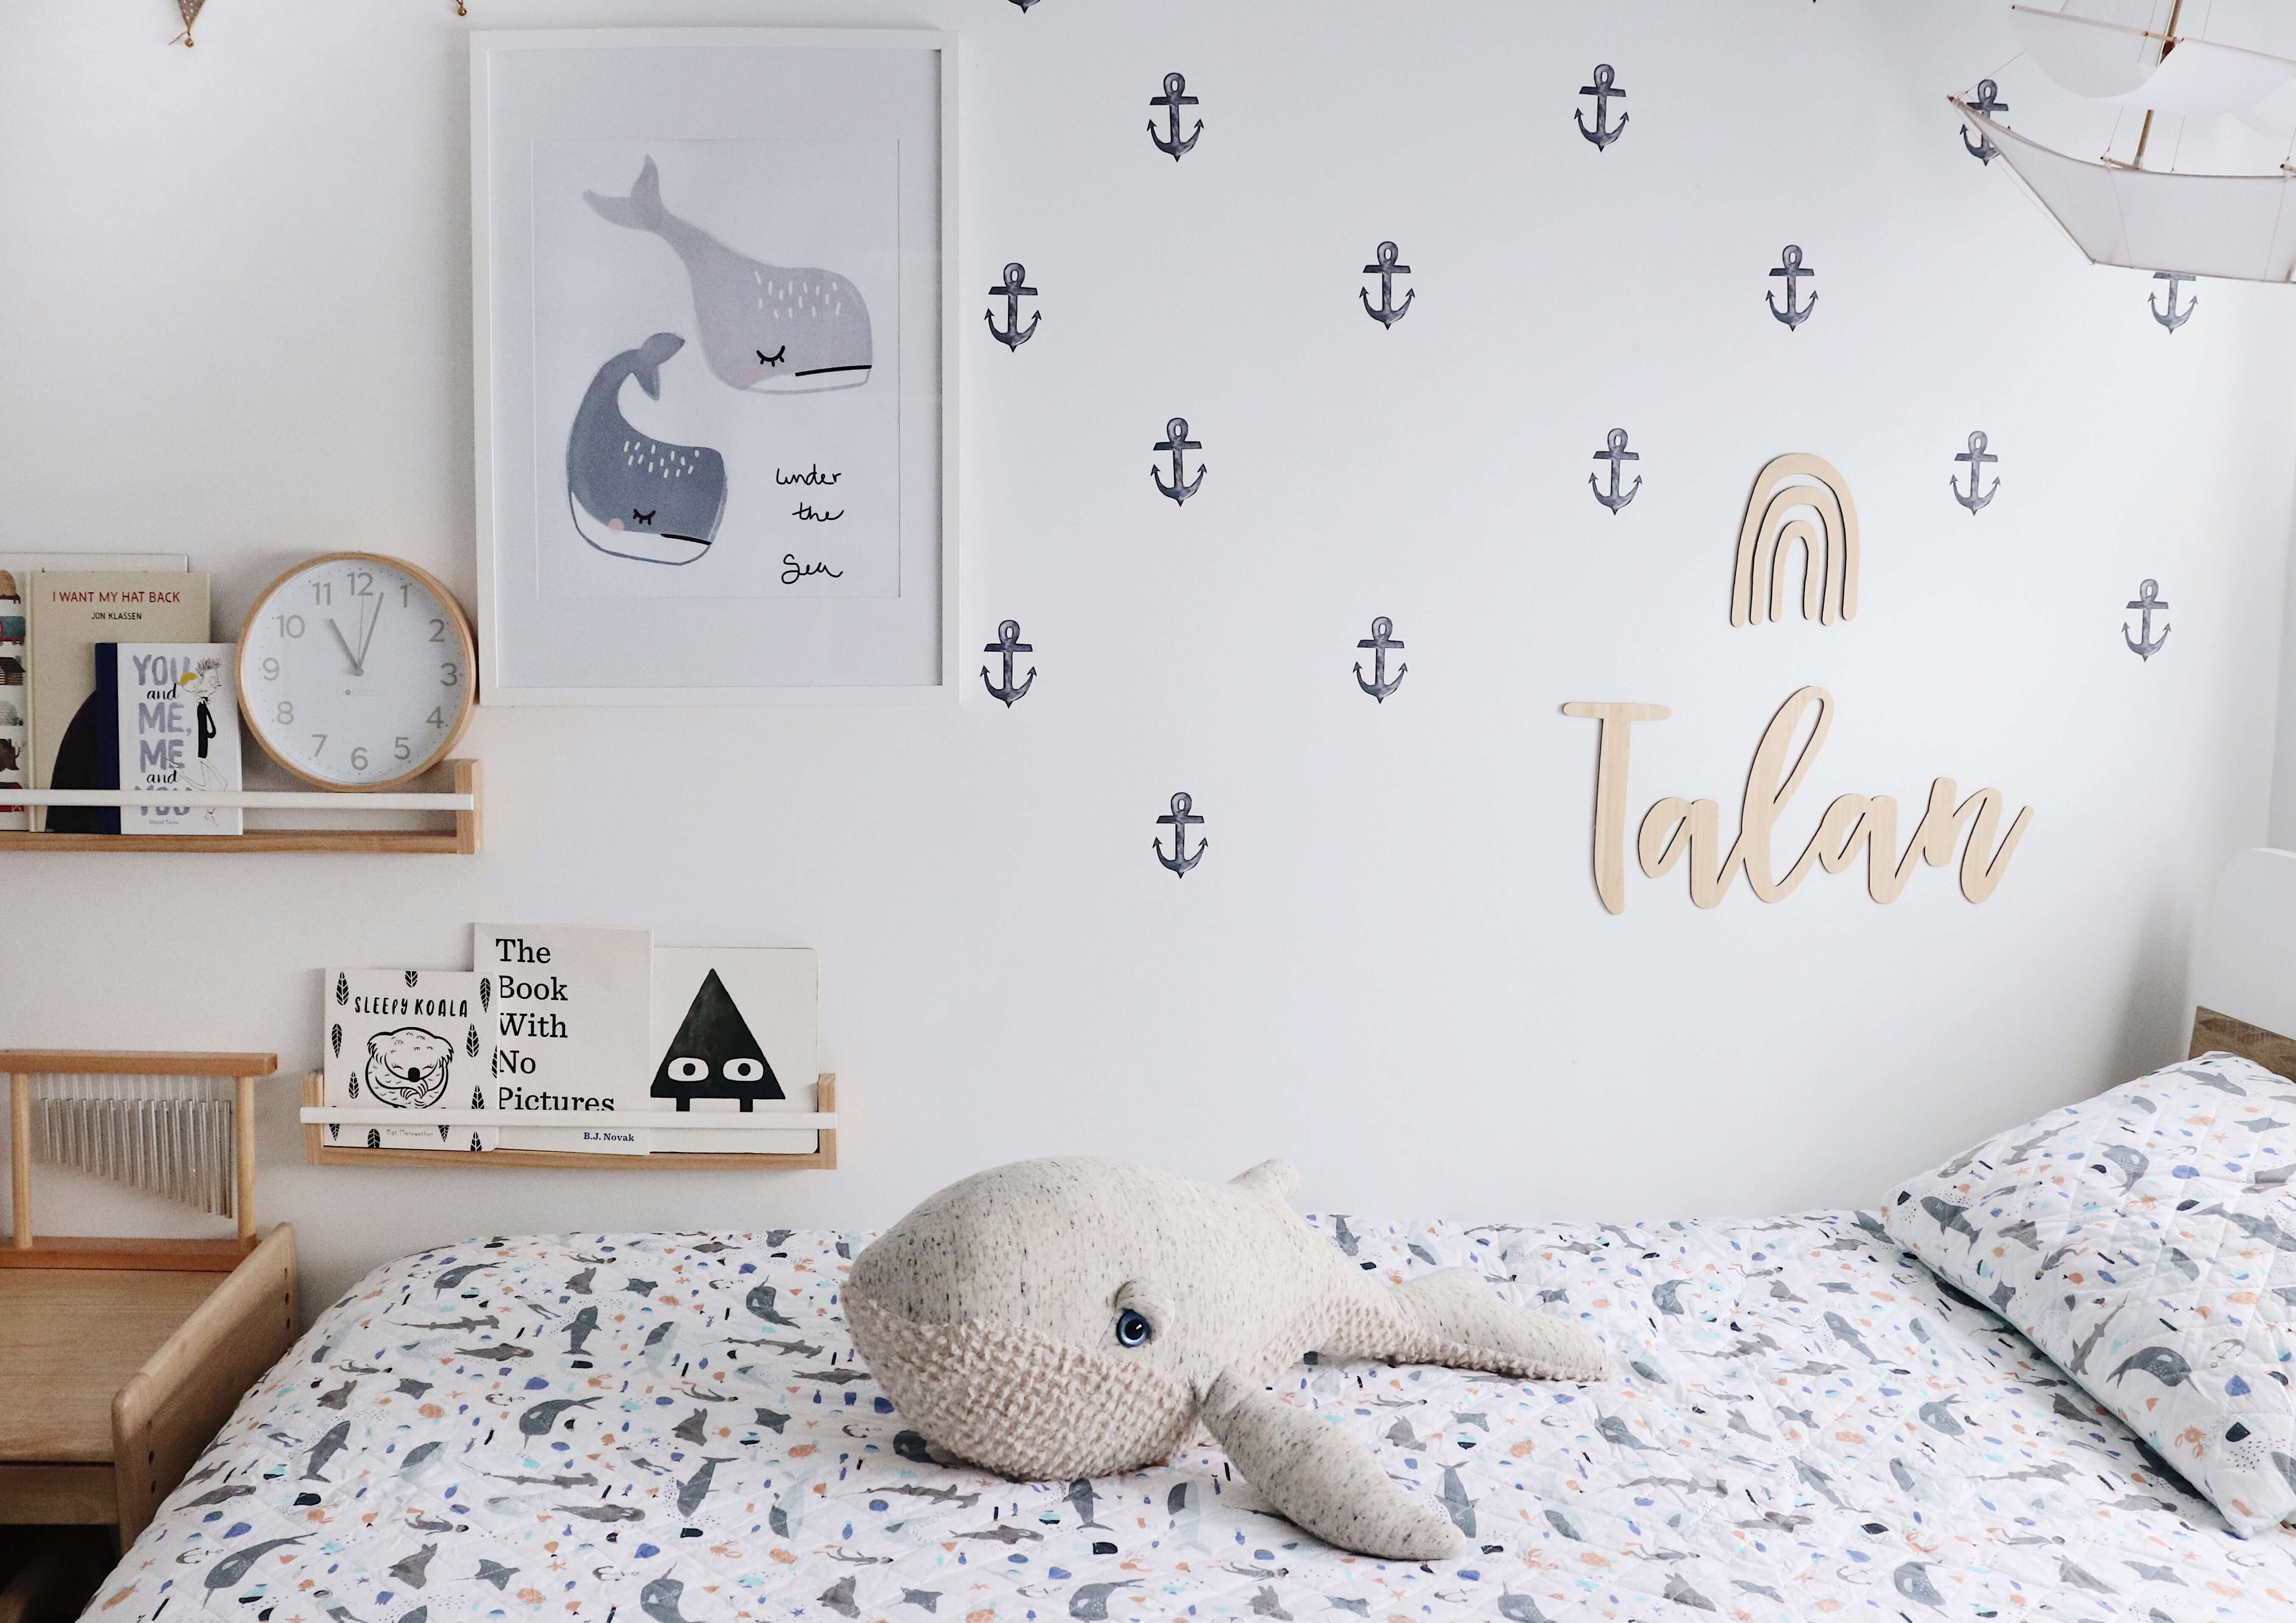
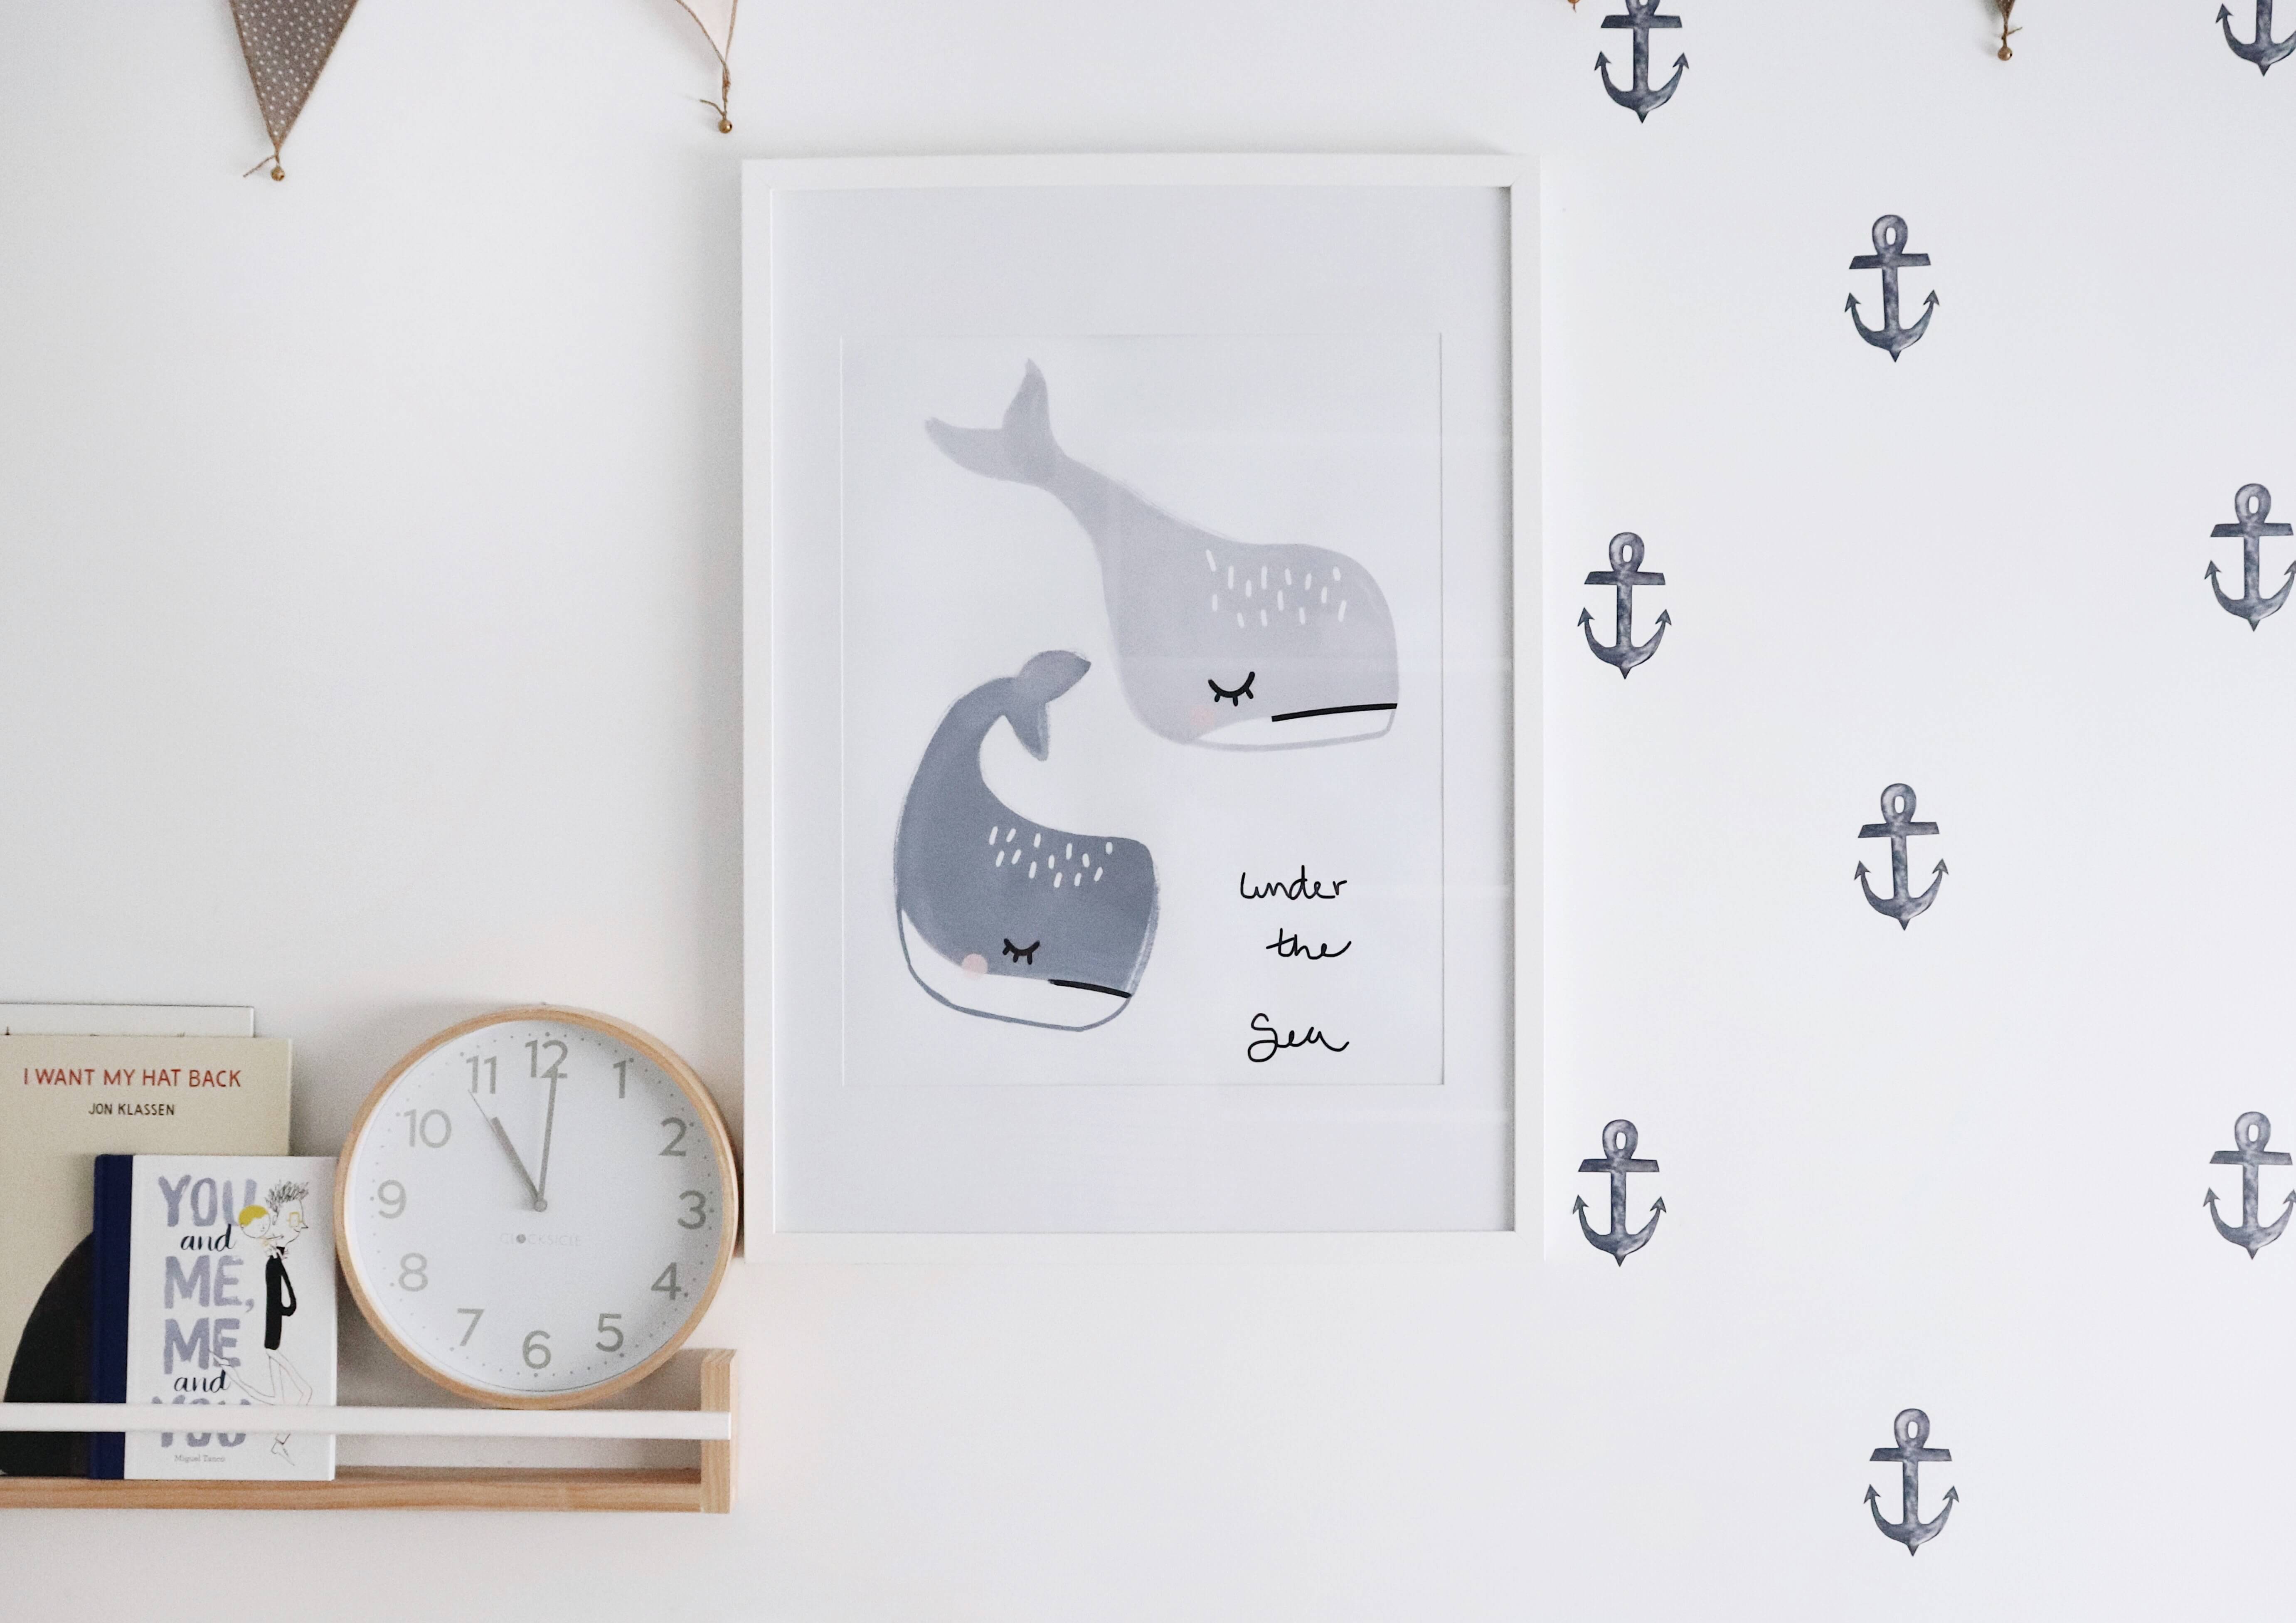
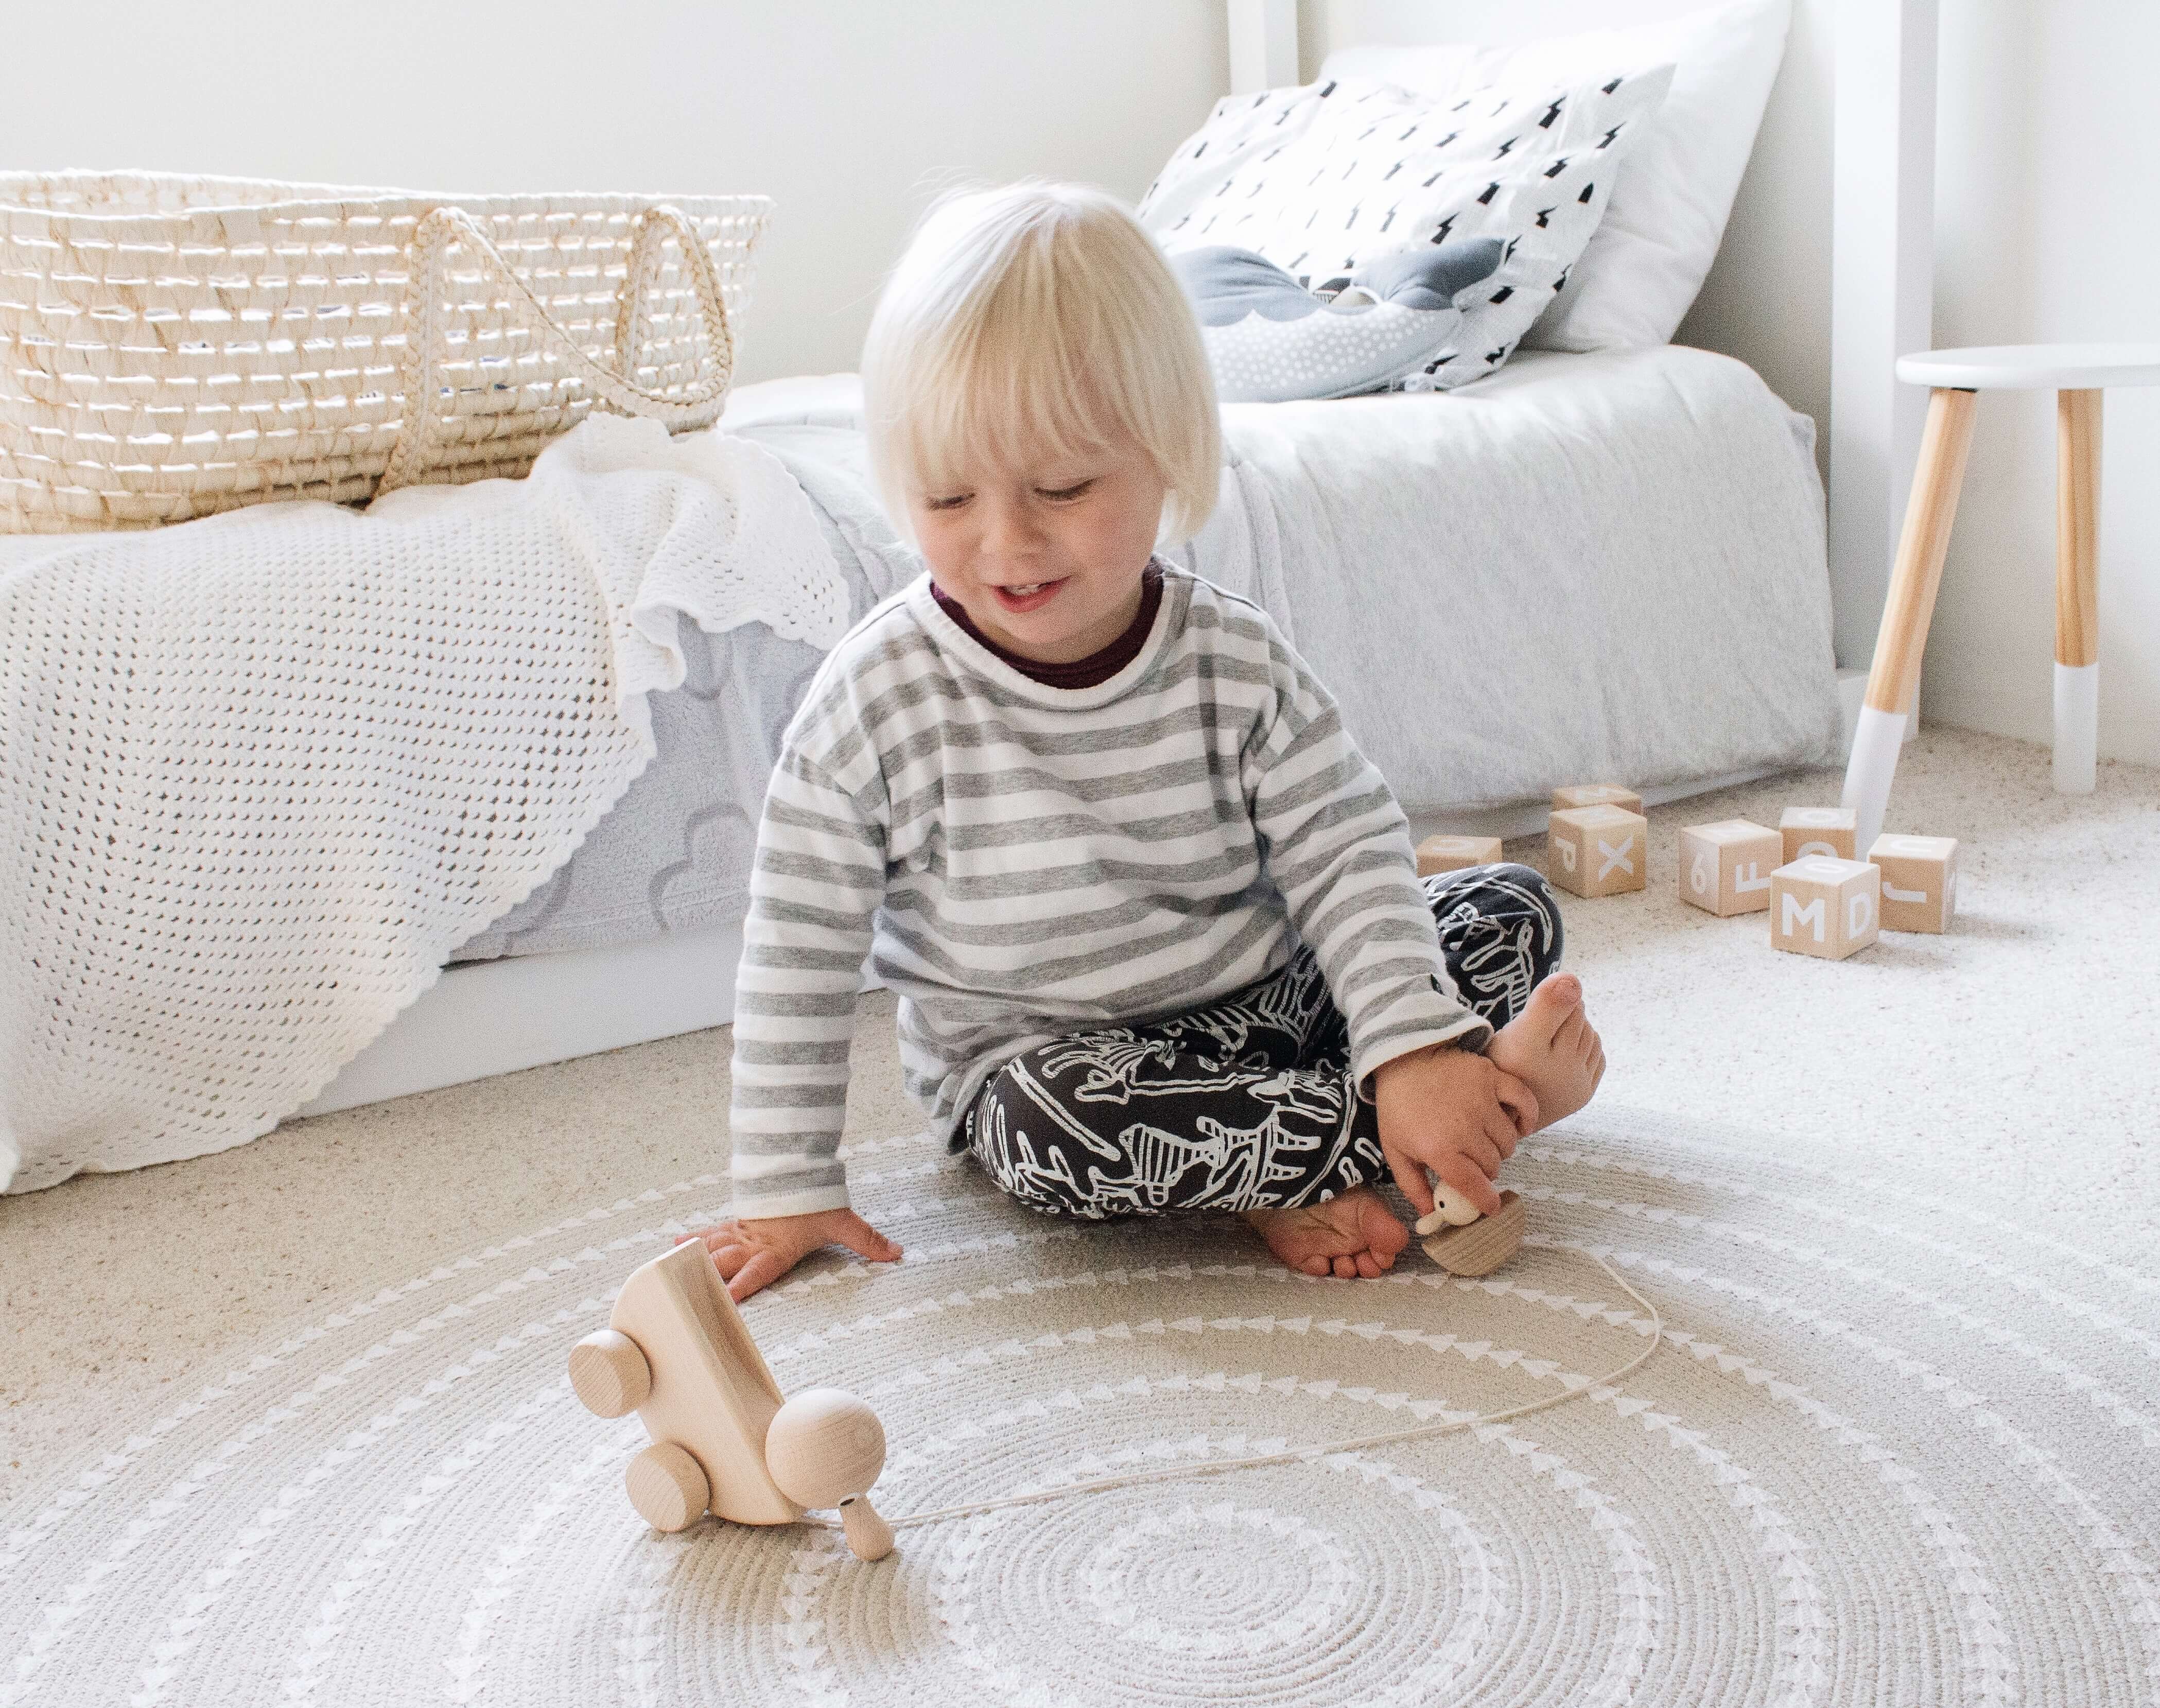
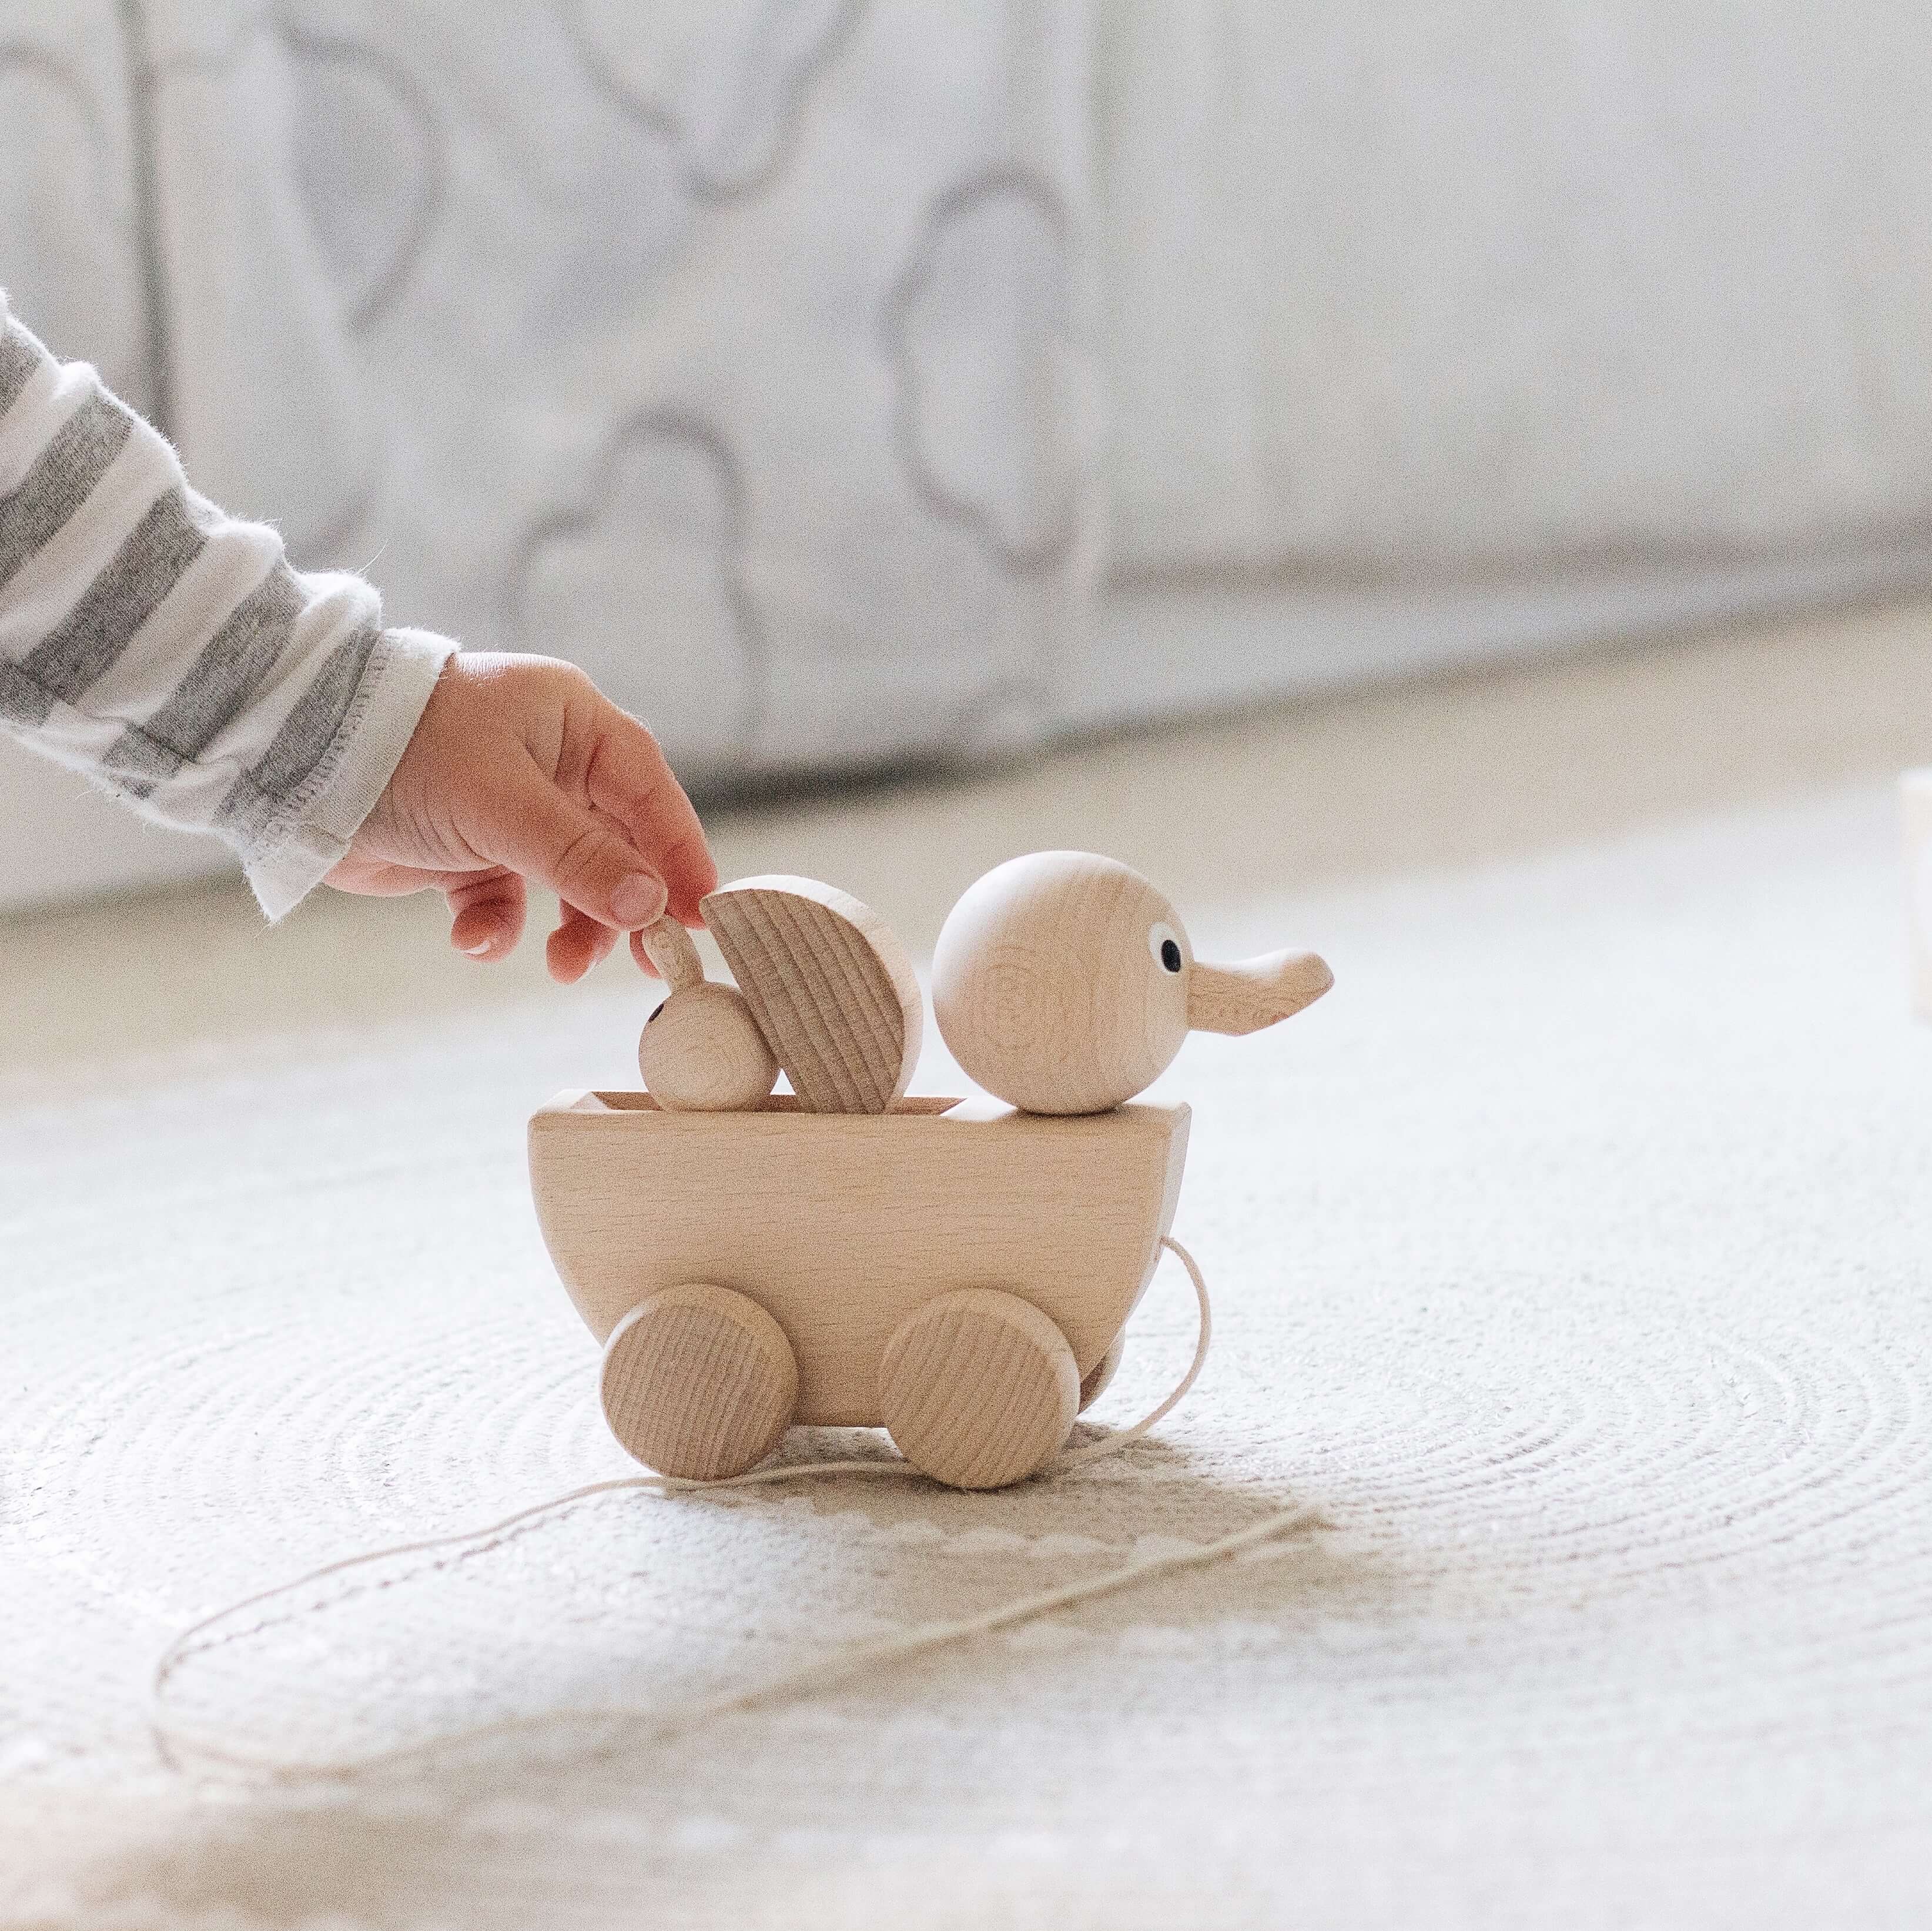
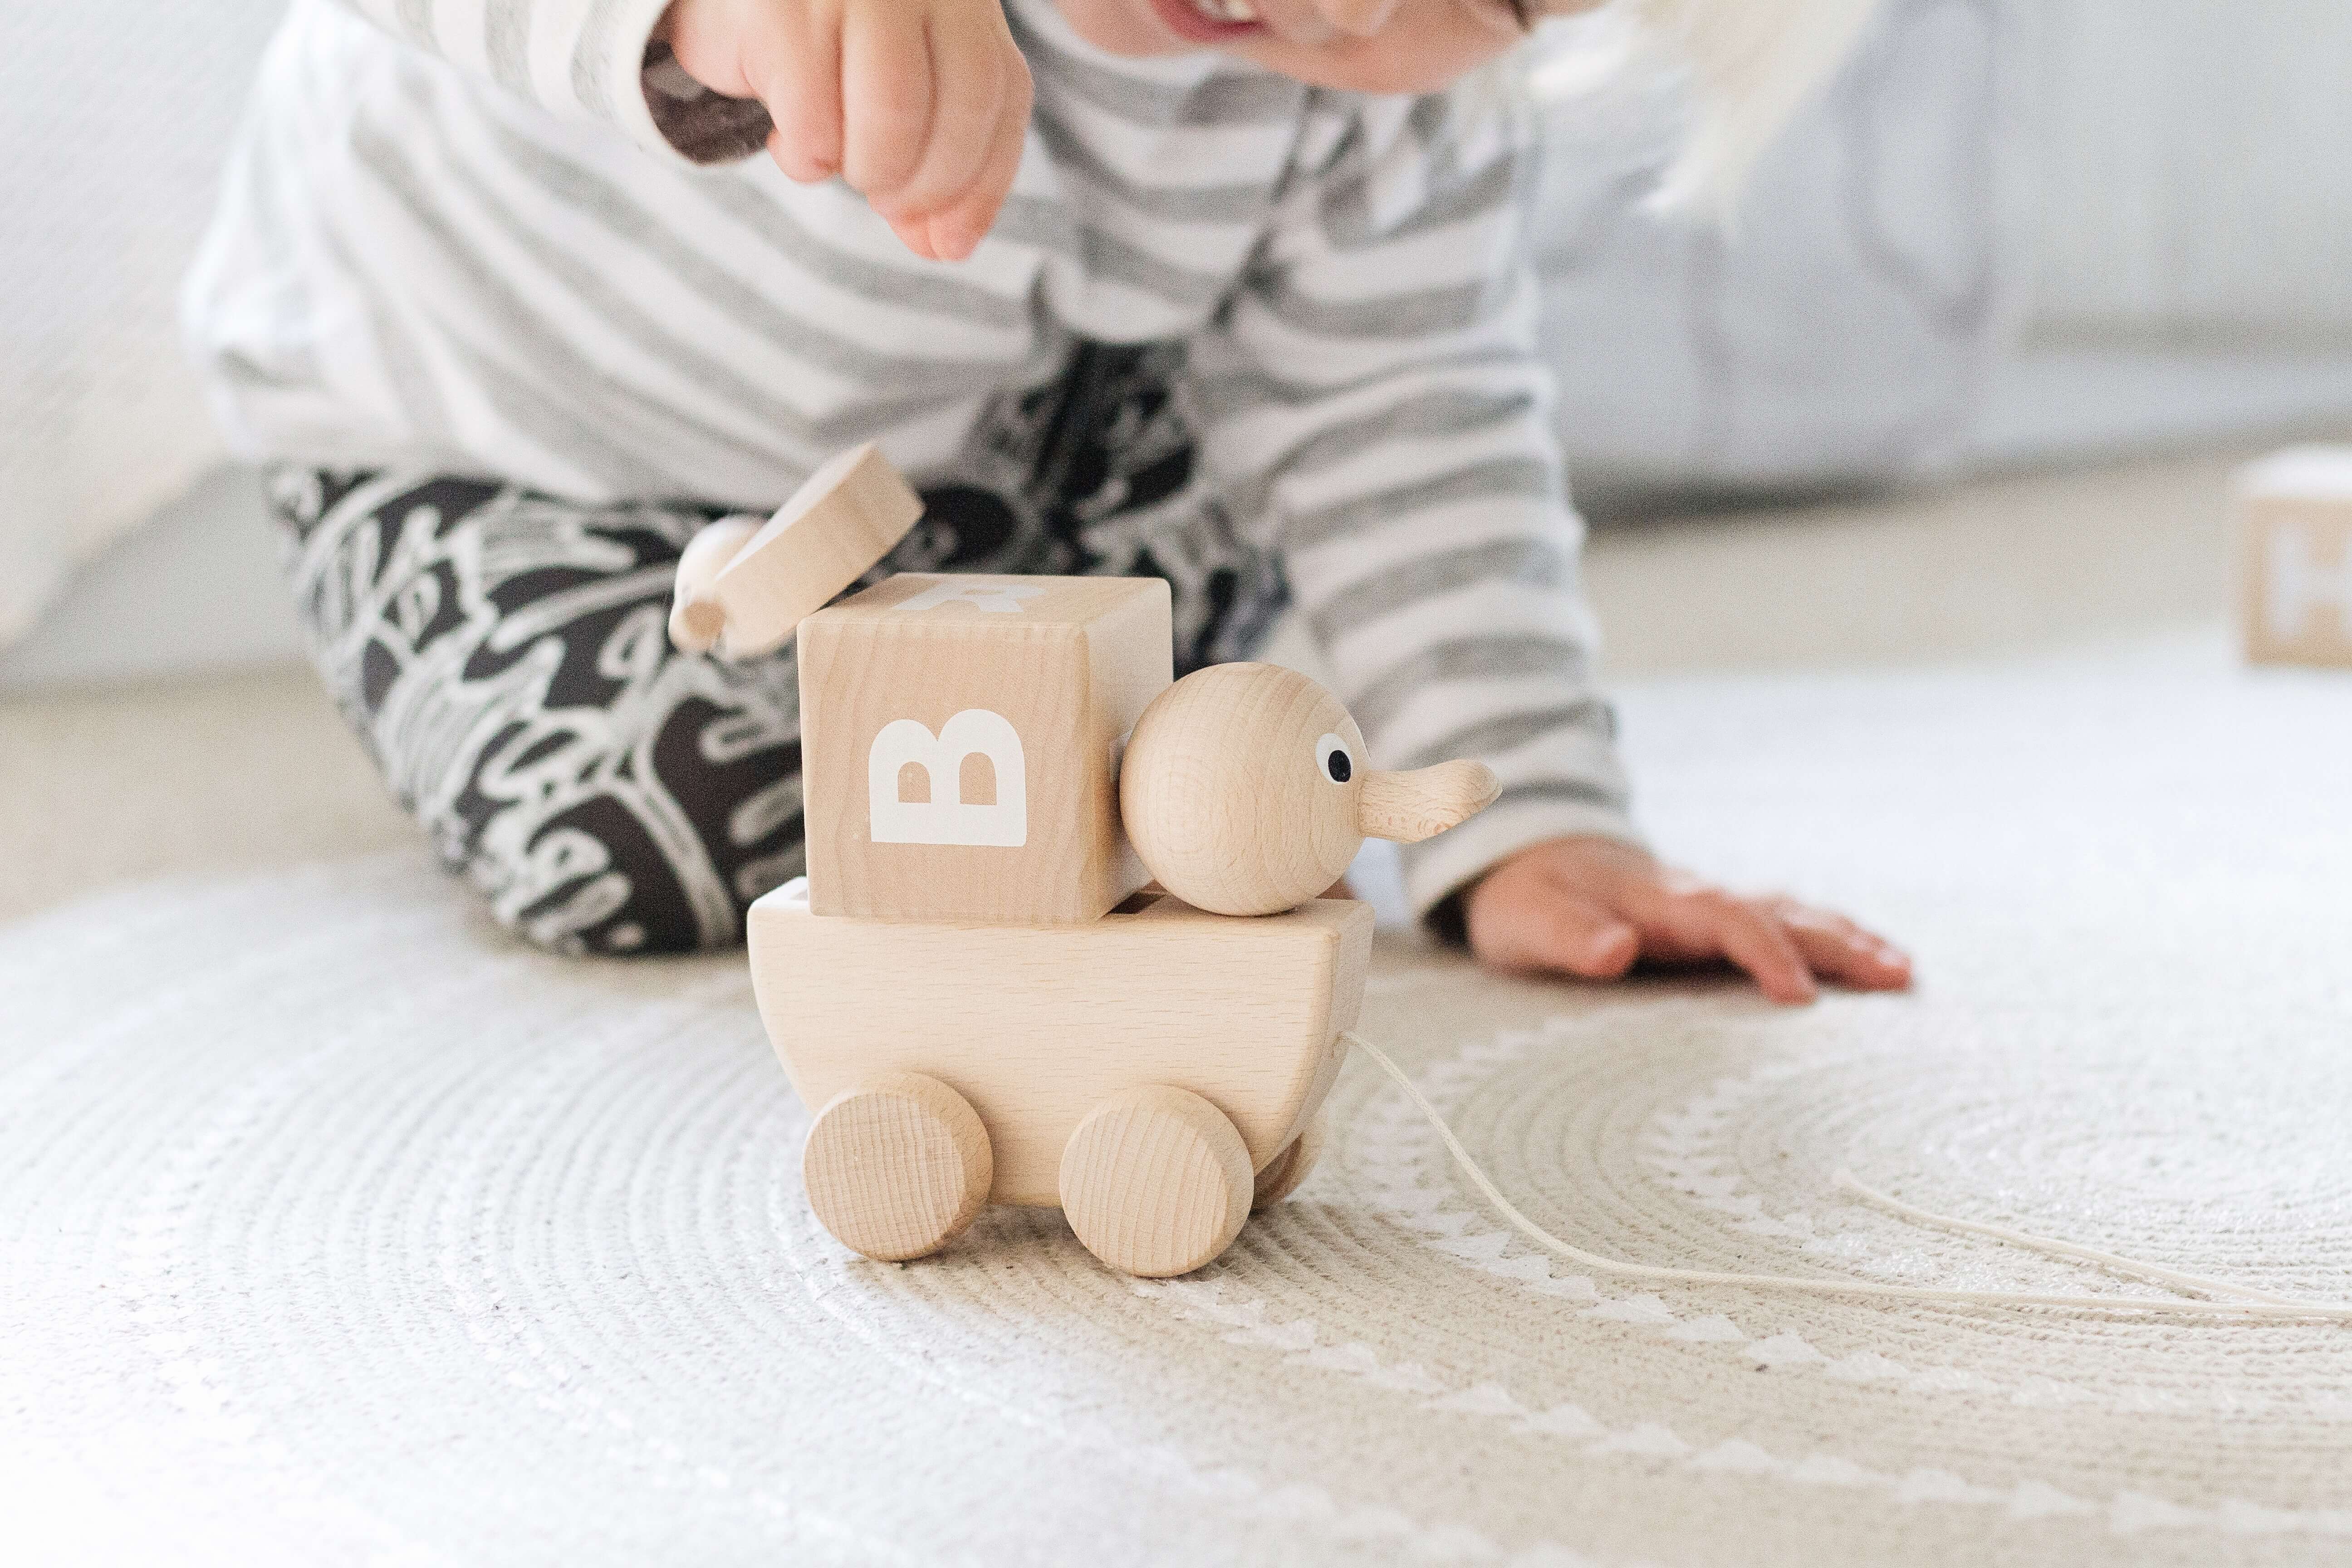
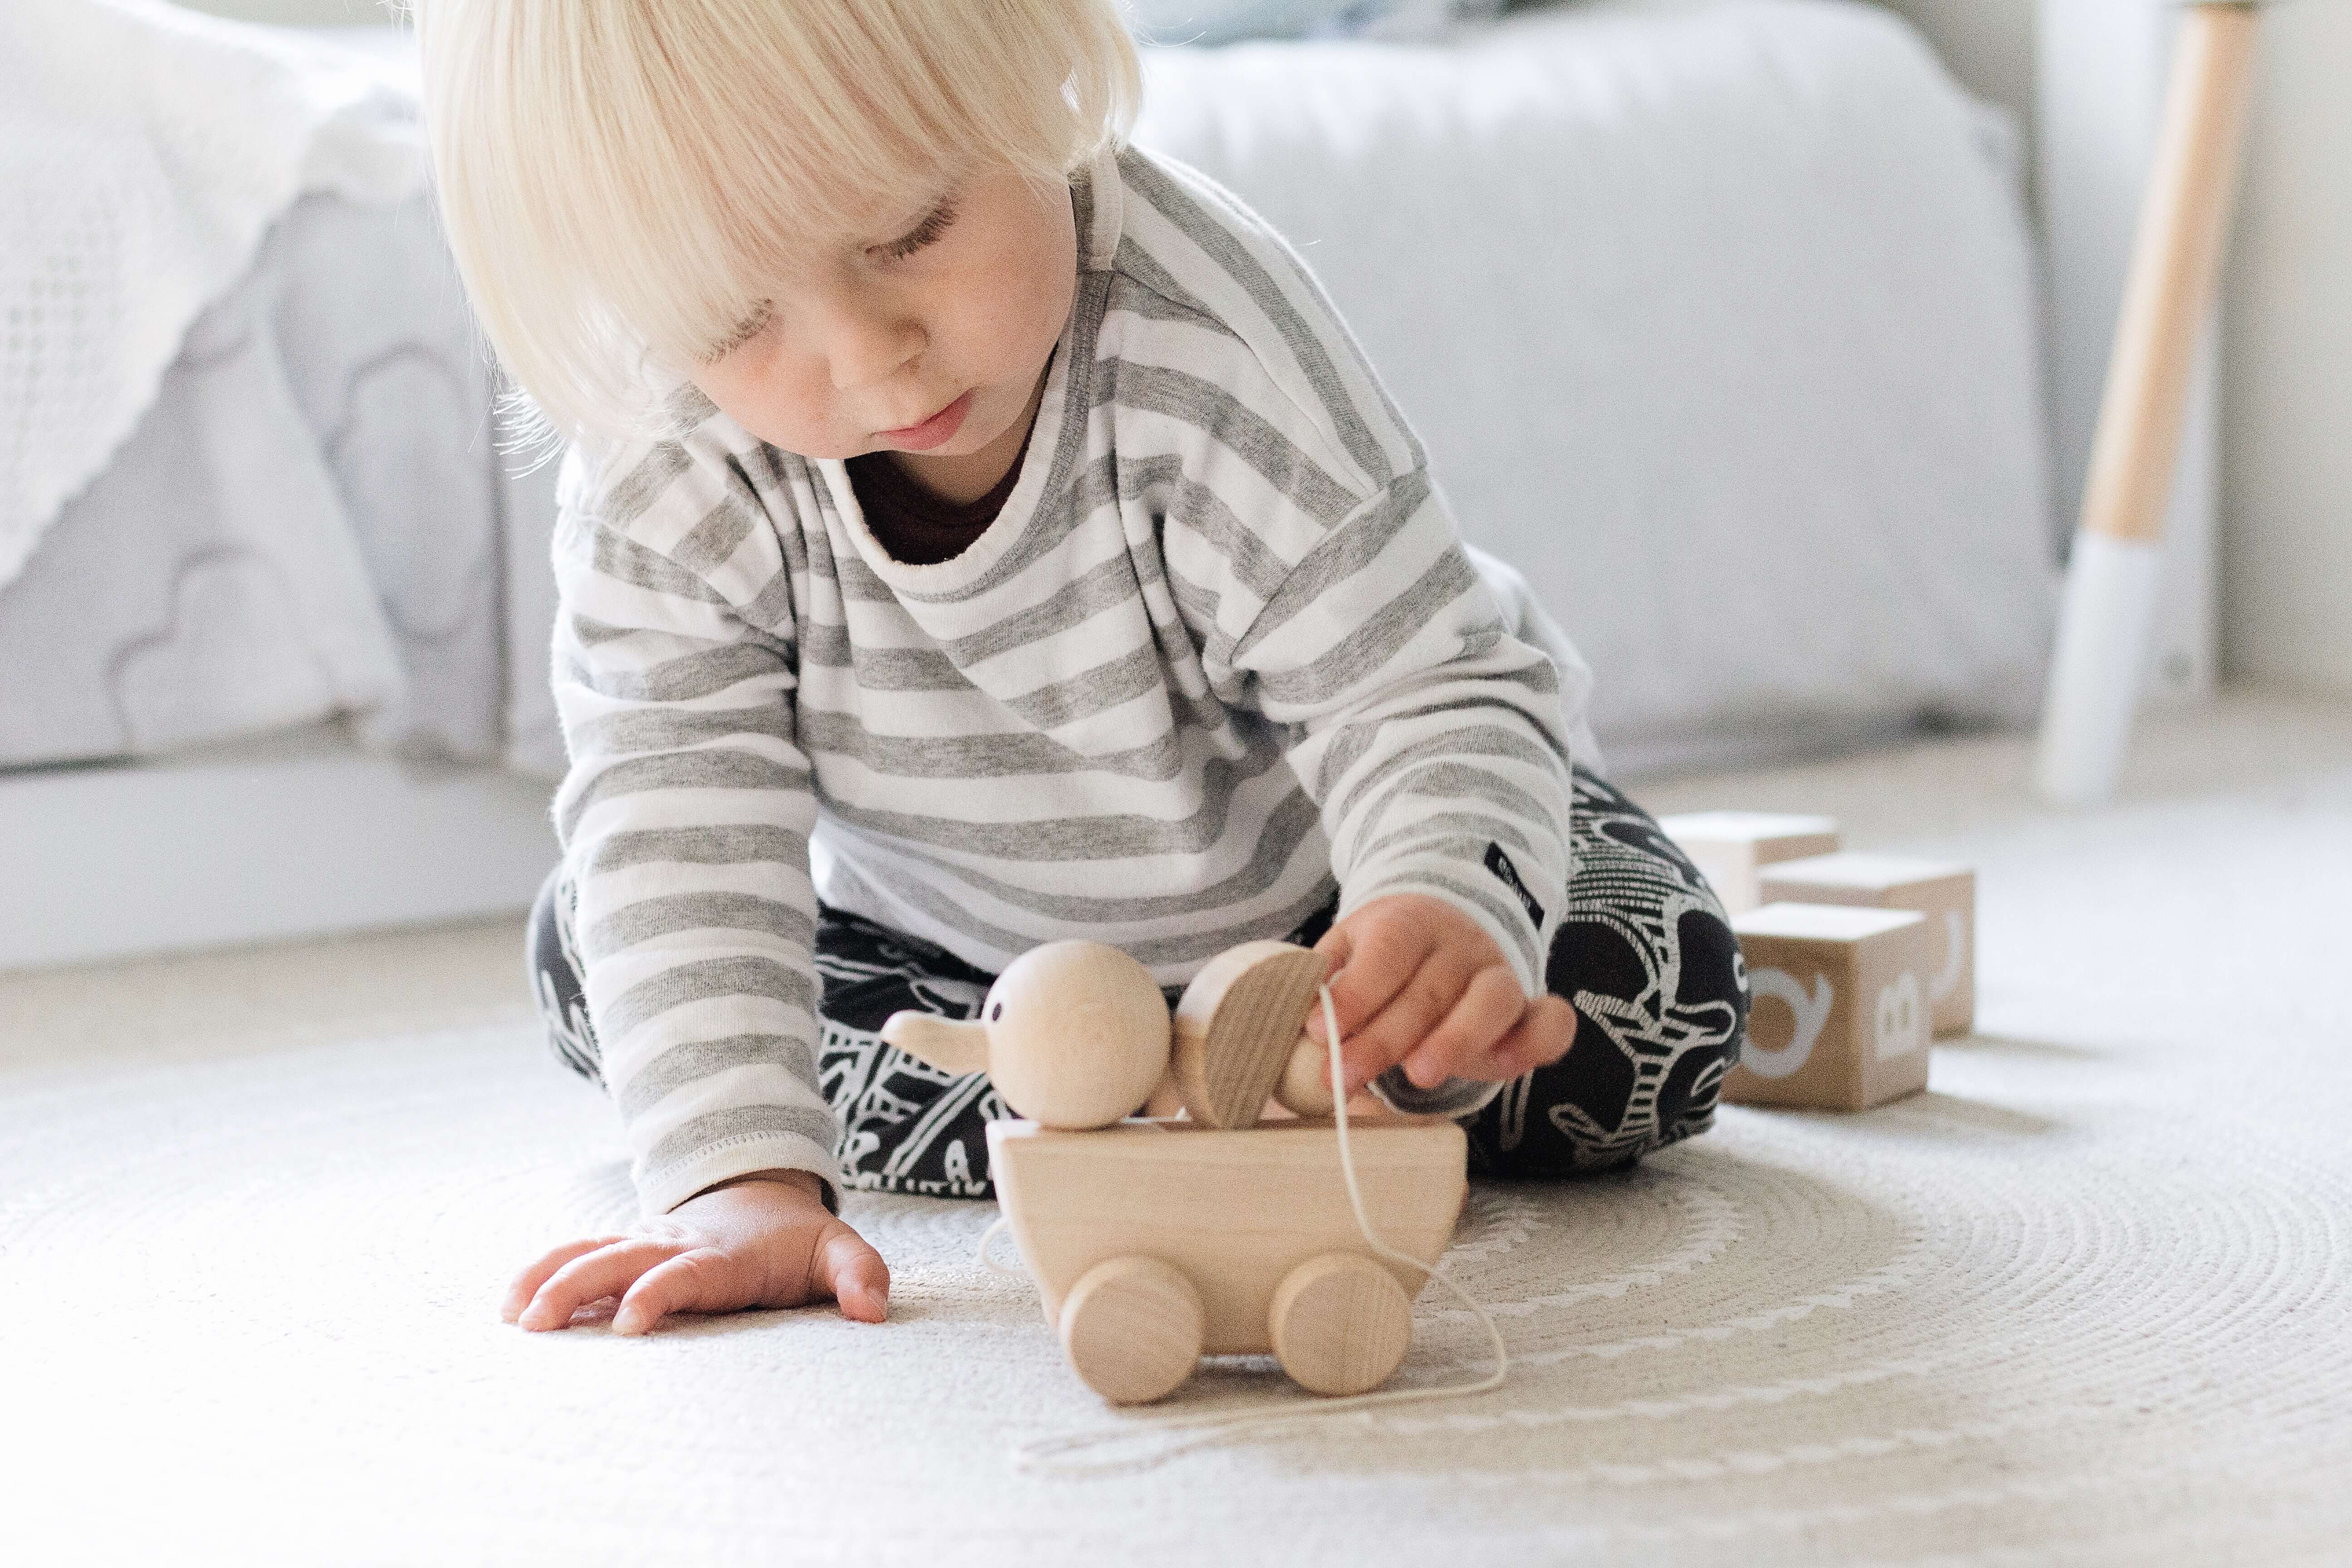
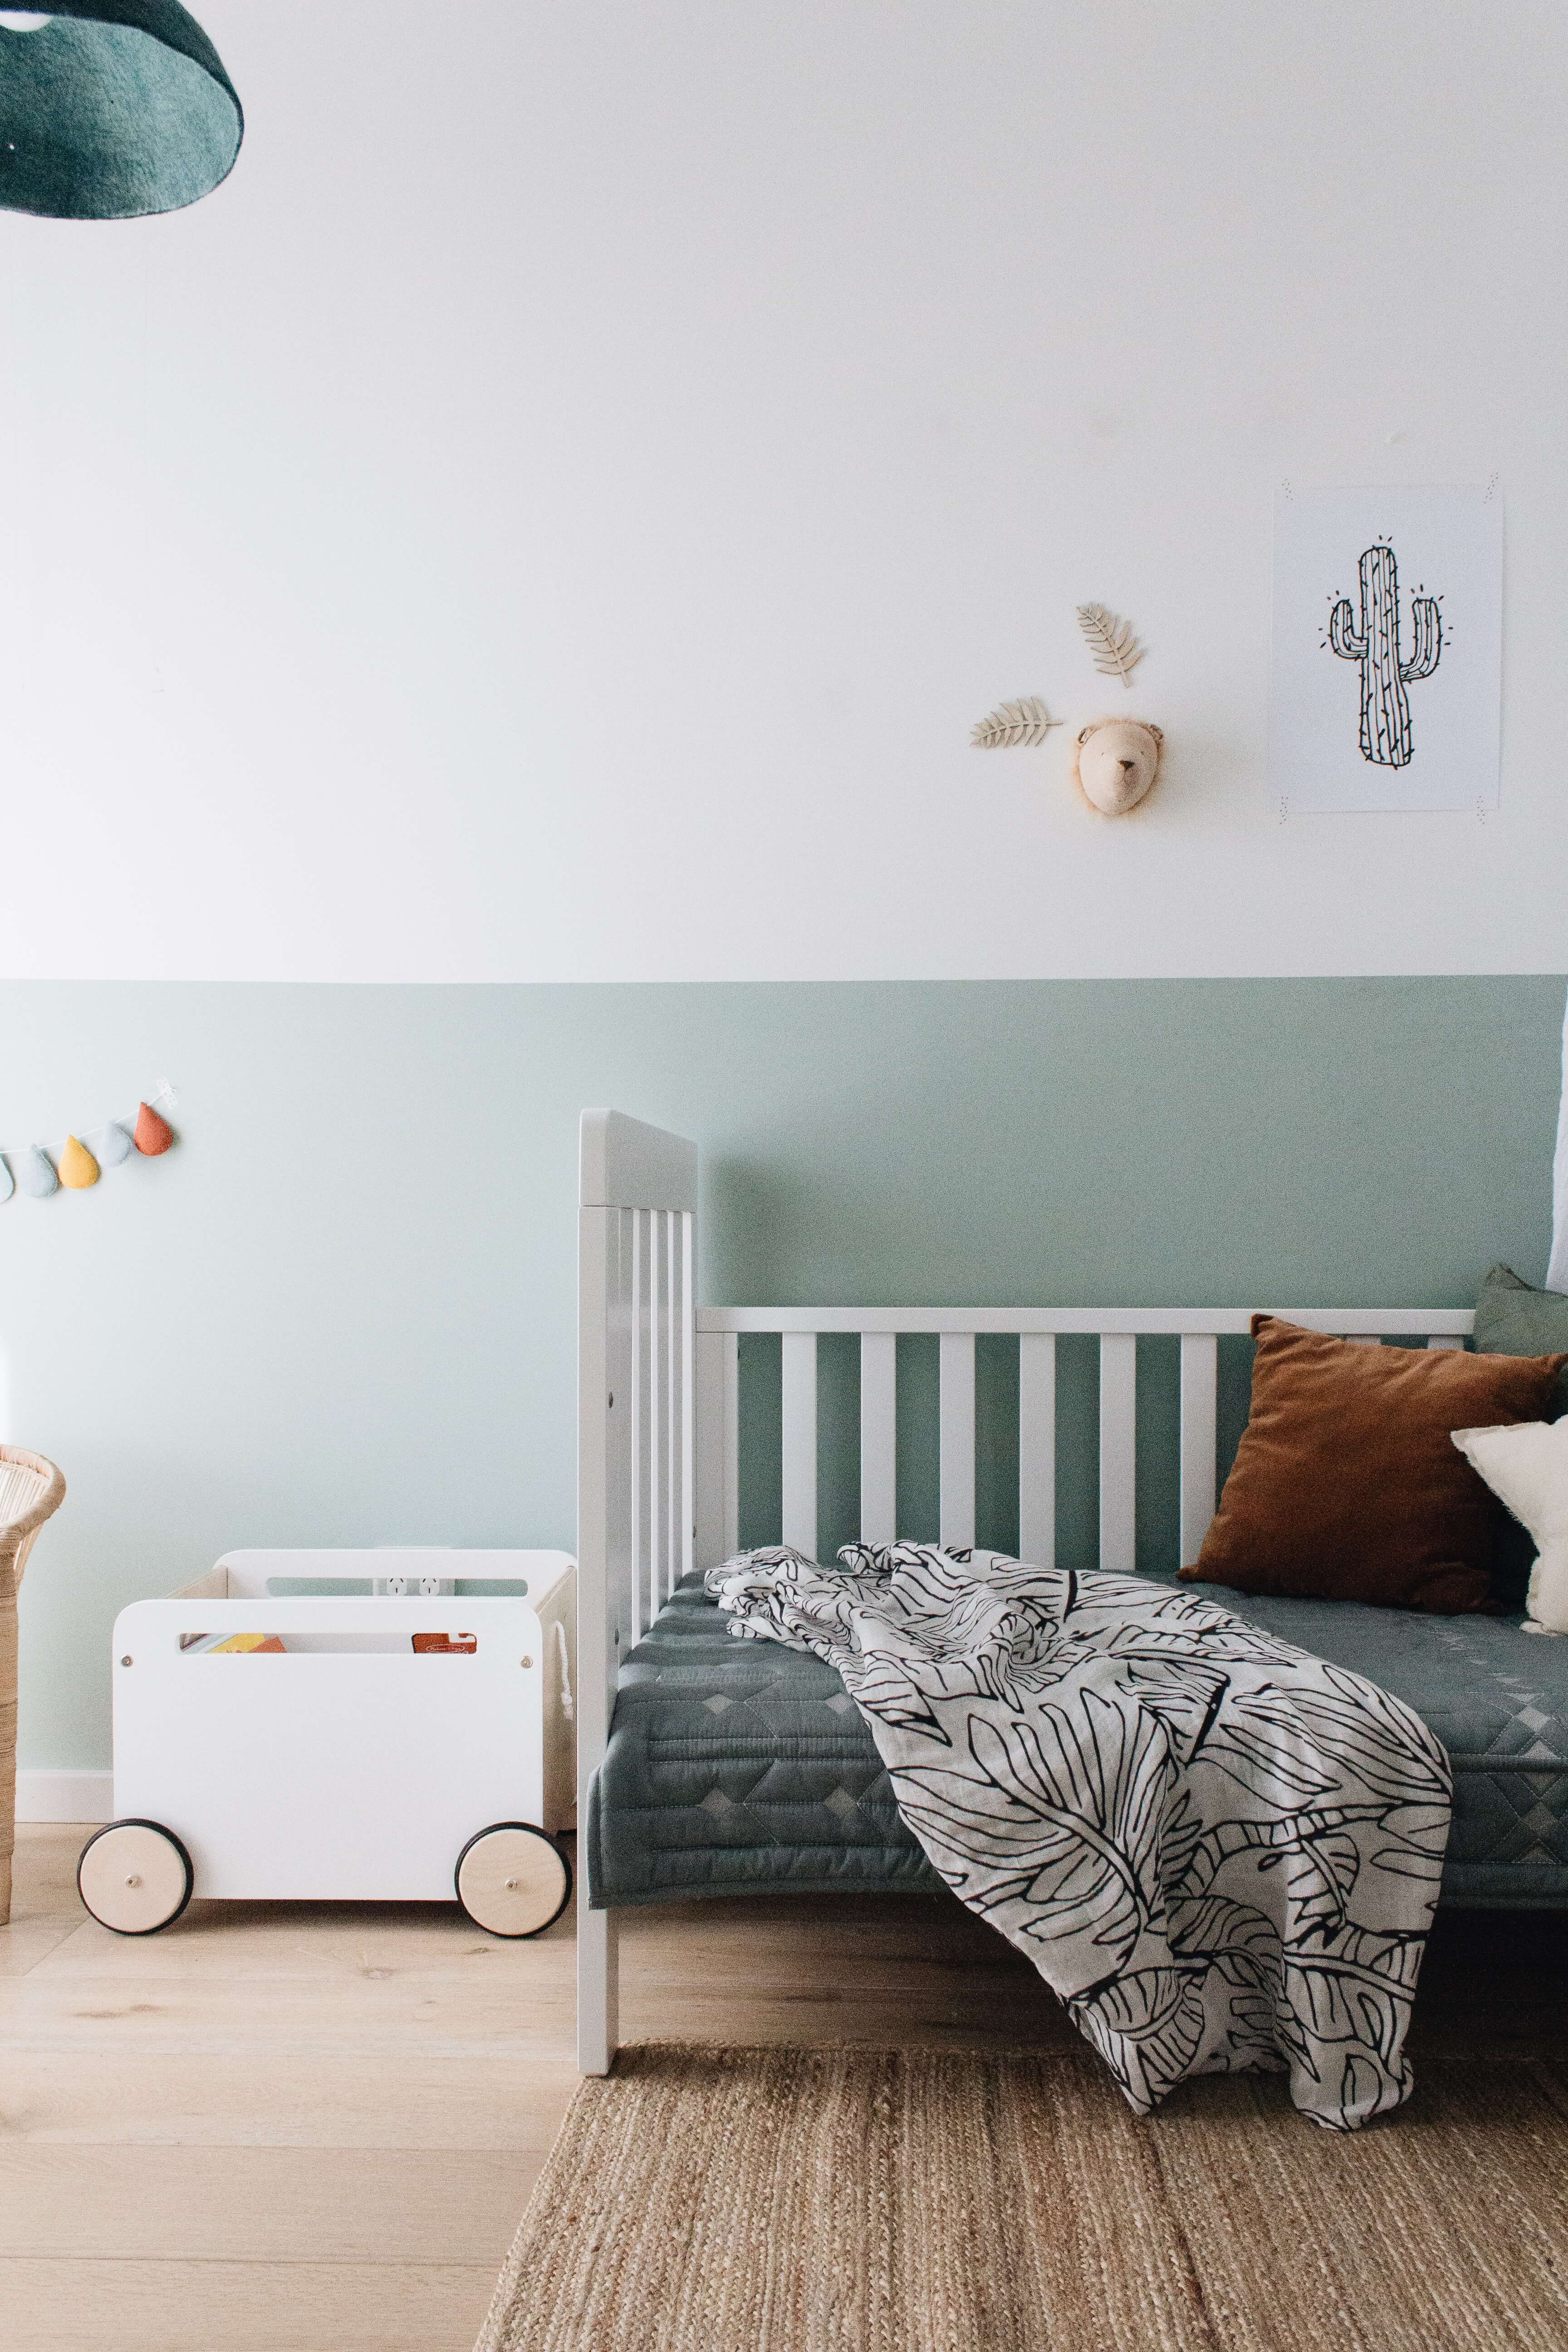
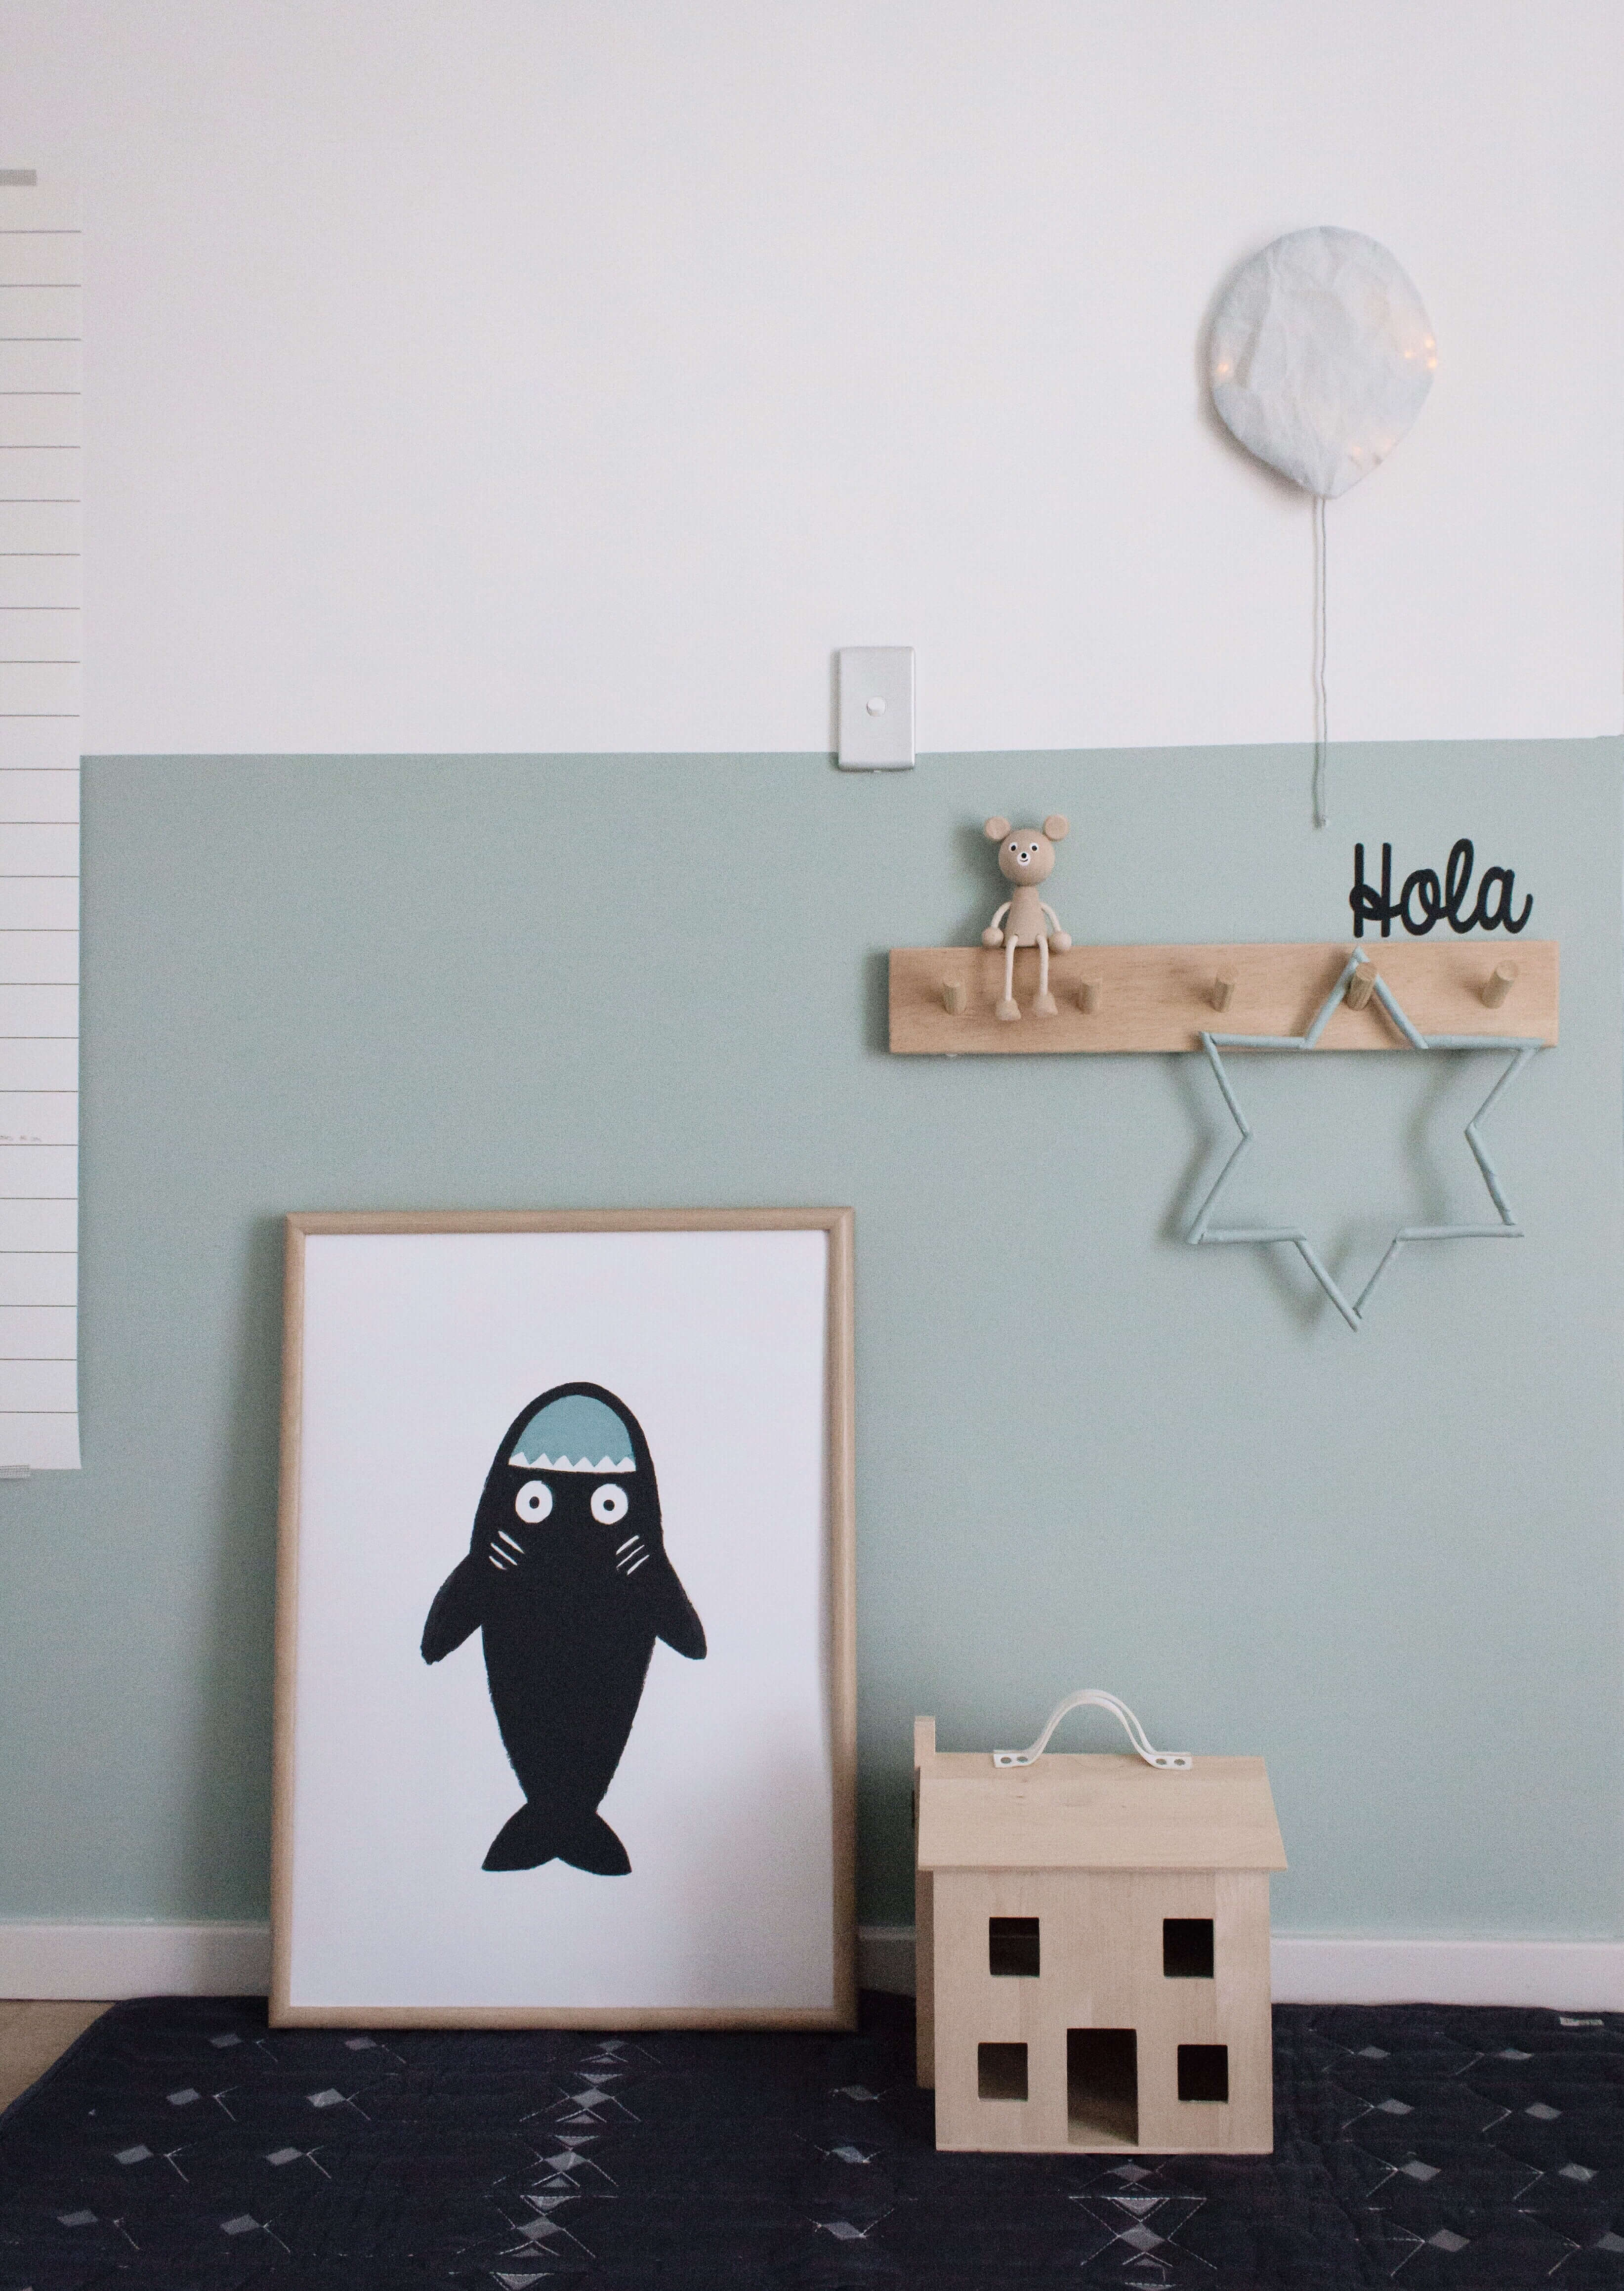
One of my favourite parts about Instagram is the community of creative women and mothers it has connected me to. Social media certainly has impacted the social elements of our lives. Without a doubt, we aren’t as interactive in person as we used to be. Modern motherhood is isolating and Instagram has created an outlet for us all to connect and unite. One thing that really excites me about creating a personal brand online is collaboration. It is so fun, keeps you on your toes and connects you to amazing people and brands. Georgina from Lal & Nil and I stumbled upon each other through Instagram and quickly realized we love a lot of the same decor. We both saw this as a way to collaborate. She sells beautiful, organic kids quilts and we quickly realized that my art and her quilts would look pretty darn cute in the same space. We also saw this as an opportunity to run a giveaway for our followers together. These photos we took together in her son’s beautifully curated bedroom. Read on below for my three great reasons to collaborate.

It’s Fun.

It’s so cool when you can connect with likeminded peeps across the globe through visual content. You can make real friends here and come up with inspiring content together.

It grows your Audience.

Social sharing is really effective at getting your account in front of a wider audience. Tagging appropriately and being tagged on others’ pages does turn into genuine followers who are interested in seeing your work. Planning a giveaway together is a great way to gain new followers.

It gives you new, fresh content.

Sometimes running your own business feels like such a solo mission. It’s really important to work with other people who have a fresh set of eyes and a helpful opinion. It gives both brands/accounts new content to use and keeps you feeling inspired.


Speaking of collaborating, I’m always looking for new ways to collaborate. Feel free to get in touch if you think we could work together.


Get the Look – Nautical Kids Bedroom

nautical-kids-bedroom

nautical-kids-bedroom

nautical-kids-bedroom

Get the Look – Nautical Kids Bedroom

Nicola from @momentswithus_ would describe her aesthetic as “Scandinavian, Crisp and Fresh”. We love her recent work, styling her son’s ocean-inspired, bedroom. Nicola says “three-year-old Talan is Whale obsessed. He lives near the beach and loves it!”

We are delighted that our ‘Under the Sea’ whales print was carefully selected to complete this seaside space. As you can see, Nicola loves supporting small business and specializes in product & lifestyle photography.

Find below a detailed list of where you can source all the beautiful brands featured in this space.

BigStuffed whale from @hellolittlebirdie

Bed spread from @adairskids

Whale print from us @phoenixandtheocean

Nautical wall decals @blond.noir

Hanging boat from @dapper_mr_bear

Floor beanbag from @and.the.rest

Personalised wooden name from @hexi_australia

Bunting from @talointeriors

Wooden clock from @clocksicle

Book shelf from @thetimbatrendandfolk

Rug from @myrtleandtwigg

Bed from @fortywinks

Wooden rainbow from @pretty.in.pine

Wooden moon from @agentvalentine.inc

Book from @bookieboobox

Happy Styling!

signature-blog

Why We Love Montessori Toys

montessori-wooden-toys

montessori-wooden-toys

montessori-wooden-toys

montessori-wooden-toys

The Montessori approach emphasizes natural materials that are safe for children and encourage imagination and self-directed play. The vast majority of Montessori toys that are not books are made of wood. Wooden toys are mostly quite simple, but they are far more than just beautiful to look at.

Wooden Toys are just Better.

They’re timeless. They encourage imagination. They are less distracting.

They will far outlive all of the plastic toys. They have been popular for centuries and are true and tried. Even though they may seem expensive, they will last for multiple children or multiple generations. Their durability naturally makes them better for the environment because they are less likely to end up in landfill a year later. Wooden toys are also much safer than plastic ones because they cannot break easily.

Wooden toys are Beautiful.

They’re more aesthetically pleasing. Having a room full of plain wooden toys and decor is actually less distracting for a child. And when guests come around, there’s less need to put all of the toys away if they blend into the decor.

Find our wooden sitting bear and pull along duck with duckling here. Save with our code PHOENIXANDTHEOCEAN.

montessori-wooden-toys

montessori-wooden-toys

DIY Scandinavian Easter Bunny Garland

scandinavian-bunny-garland

With Easter approaching, there are many things available to buy in the shops for kids. Let’s face it, most of those items are going to end up in landfill and there are certainly other, more environmental ways to celebrate Easter.

I had a pile of old linen pillow cases that I cut up into scraps and thought would be suitable for this project. Beautiful wool/polyester felt would suit these garlands even better, if you have any. Most people have old sheets or pillowcases hanging around and its a great way to recycle fabric. You don’t have to be an expert at sewing to create this garland (i’m definitely not) and Phoenix really loves these bunnies hanging in our apartment.

Let’s get started.

Scandinavian-bunny-garland

scandinavian-bunny-garland

[What you’ll need]

Old sheets or pillow cases. I chose greys and whites for the ultimate Scandi-style look.

Black or white yarn for the bunny faces

Black, white or grey embroidery thread

White string

1 piece of thin cardboard

Pillow filling or excess yarn or excess fabric to fill the bunnies

a pen

a large embroidery needle for threading yarn

a small sewing needle for thread

1 chopstick

small scissors

washi tape to hang

[How to Create]

[Draw and Cut] a bunny head stencil approximately 13cm tall x 9cm wide on your piece of cardboard.

[Trace] your bunny stencil with a pen onto your fabric and cut out 10 bunny heads. Keep in mind, you’ll need two sides for each colour of bunny. I cut out 4 dark grey, 4 light grey and 2 white bunny shapes.

[Thread] your embroidery needle with black yarn and knot it at the end. On half of the bunnies, thread and knot the cross pattern for their mouths. Coming from behind, come up through the bunny and cross over diagonally and thread back through. Thread again to the front and thread diagonally across back through. Knot at the back and cut. Repeat until you’ve created 5 bunny mouths. Don’t worry too much about the crosses being perfectly the same. Then, knot your yarn again and thread the eyes.

[Thread] your smaller needle with your white, black or grey thread to begin stitching the bunnies together. Double the thread and knot it. When threading the bunnies, I used a method called the blanket stitch. If you are new to sewing, check out this simple video to see how. Once you’re ready, layer one of your bunny faces with the same colour of a plain bunny. Begin stitching from the left ear and work your way around both ears first. Once the ears are stitched, fill them with your pillow filling or scraps of yarn/fabric. Use your chopstick to assist gently filling the ears.

[Continue stitching] your way around the bunny face until you reach 2-3 fingers width left. Fill the remainder of the bunny with pillow filling and then complete the stitch until you reach the spot where you began on the left ear. Double knot your thread and cut.

[Stitch] the rest of your bunnies.

[Cut] a piece of string approximately 100cm long and thread through your embroidery needle.

[Thread] it through your bunnies just below the ears one by one in the colour order you desire. Note that the bunnies may slide across your string when hung. If you would like them to stay into place, double knot the string after each bunny is threaded about 8cm apart.

[Fold] over the two ends and knot to create a nice loop for hanging. I used pattern washi tape to hang my garland.

scandinavian-bunny-garland

Scandinavian-bunny-garland

signature-blog