With Easter approaching, there are many things available to buy in the shops for kids. Let’s face it, most of those items are going to end up in landfill and there are certainly other, more environmental ways to celebrate Easter.
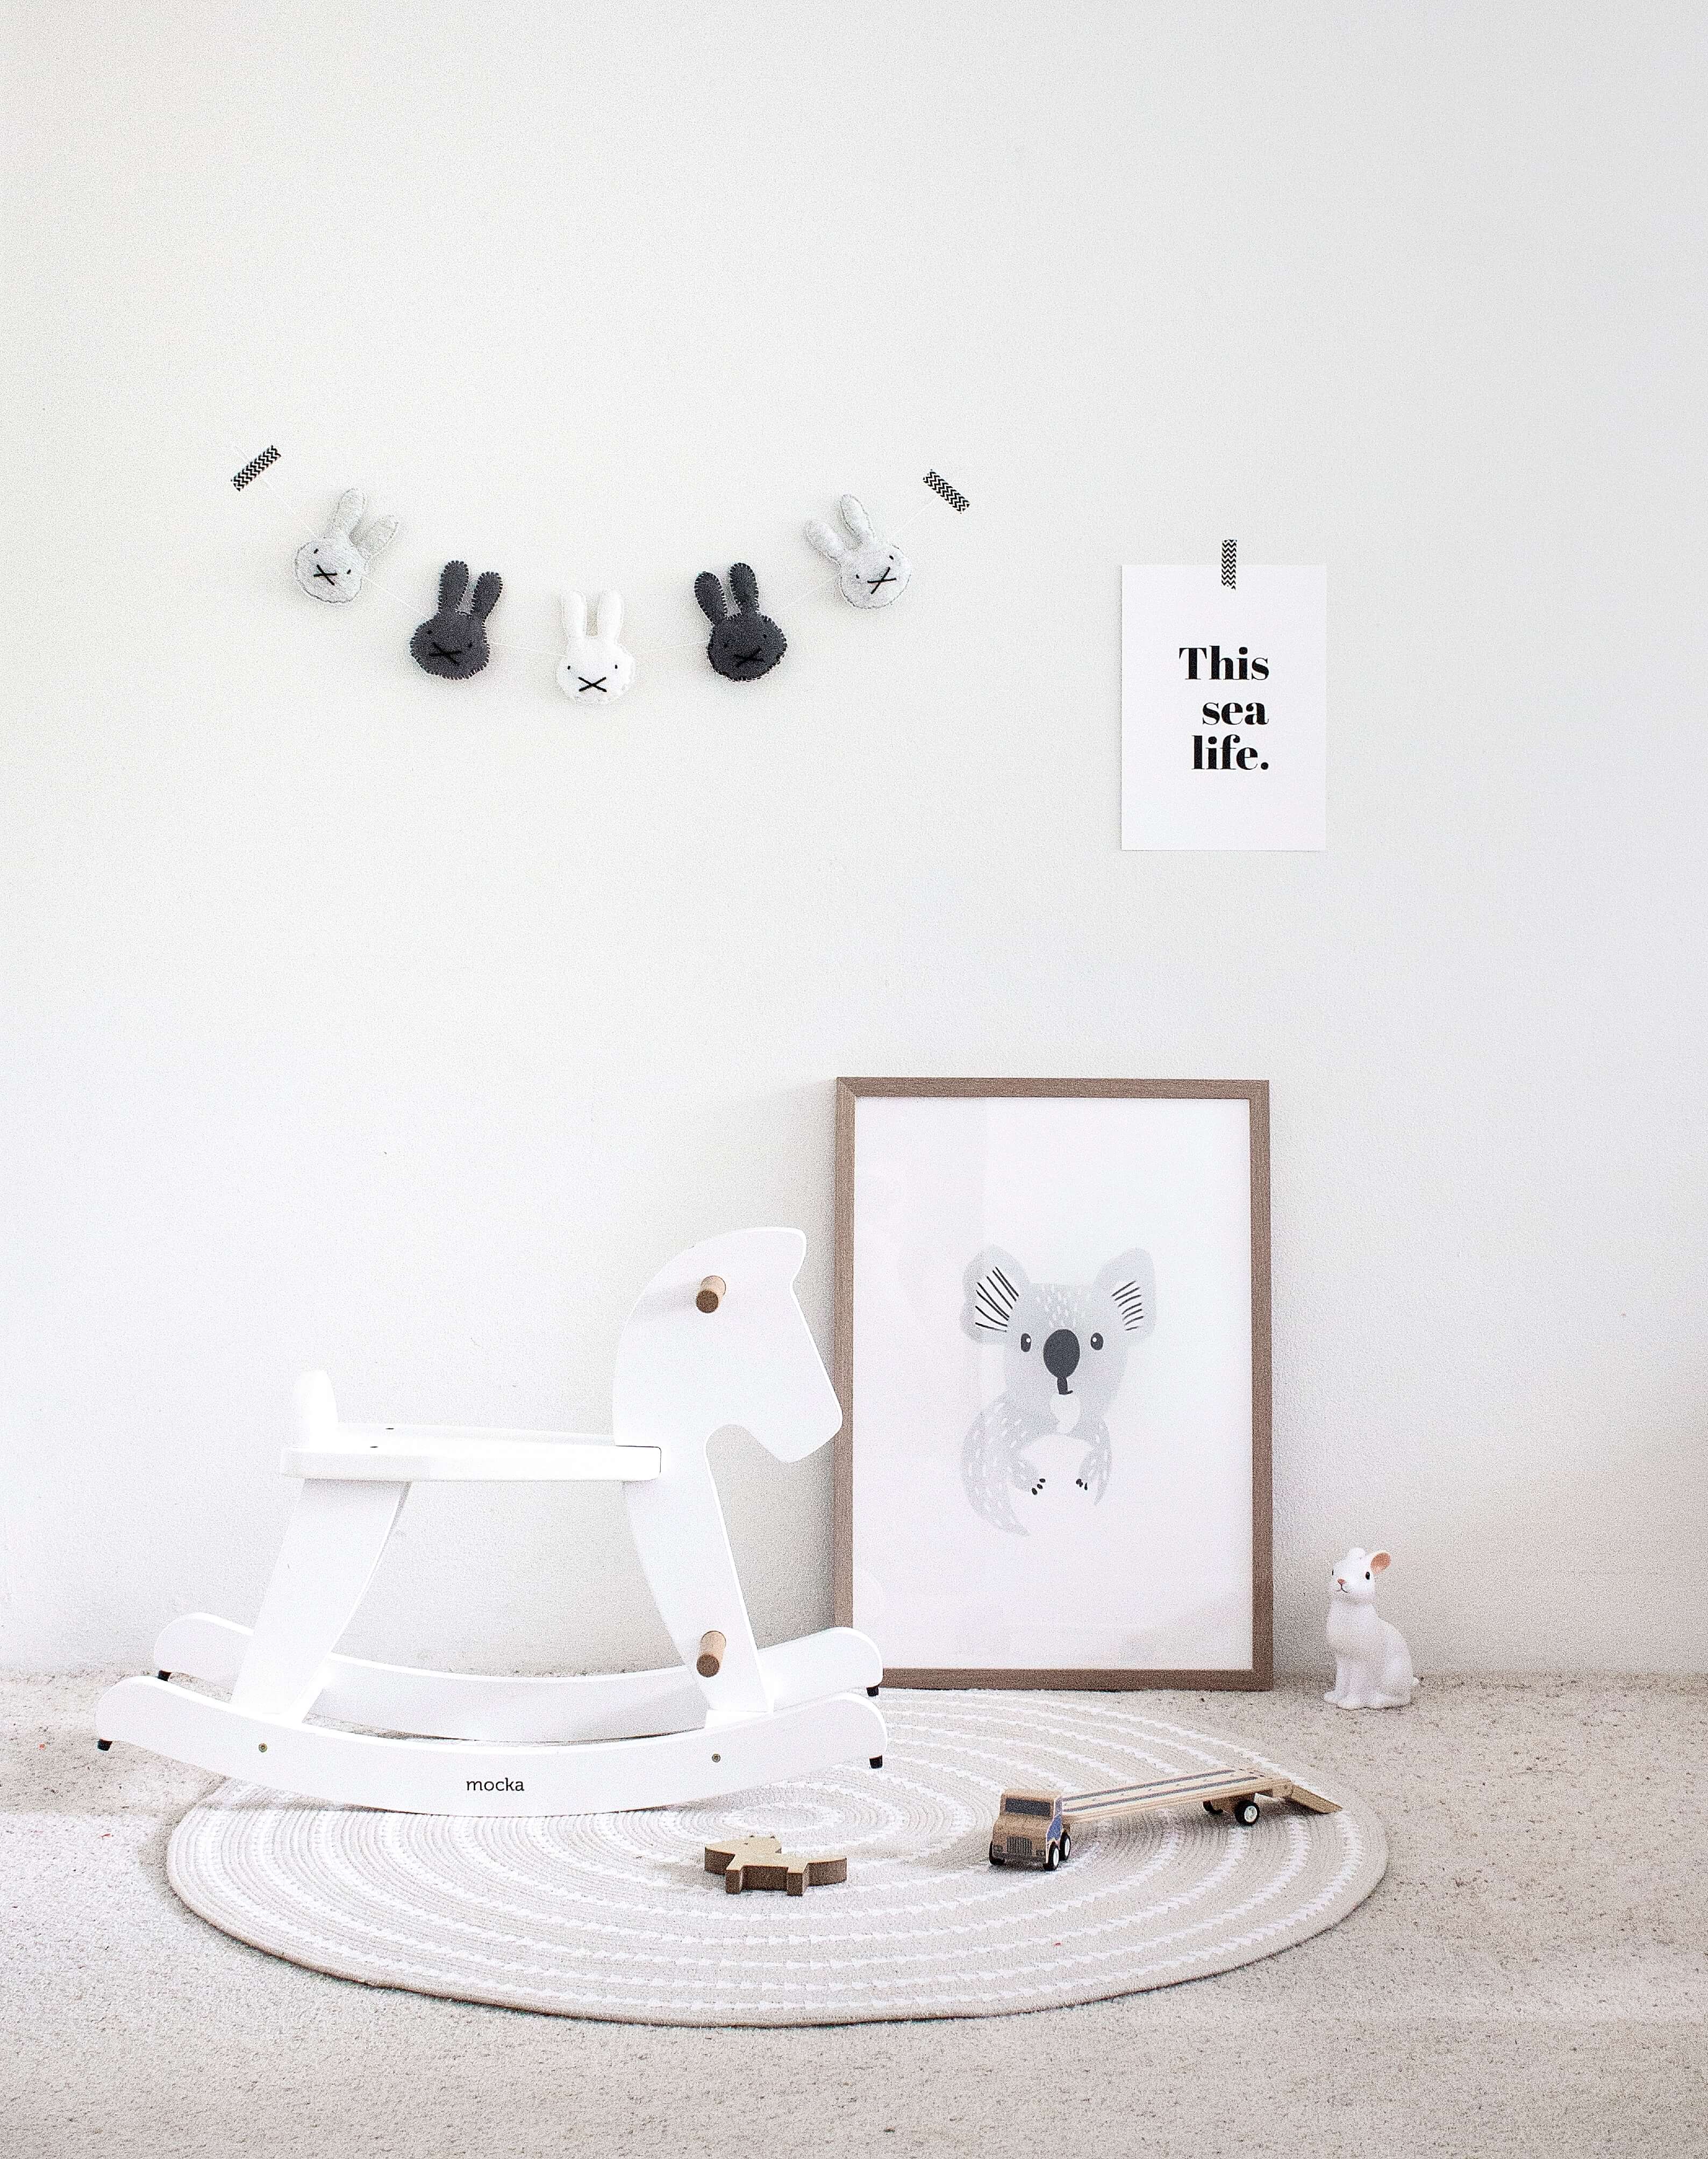
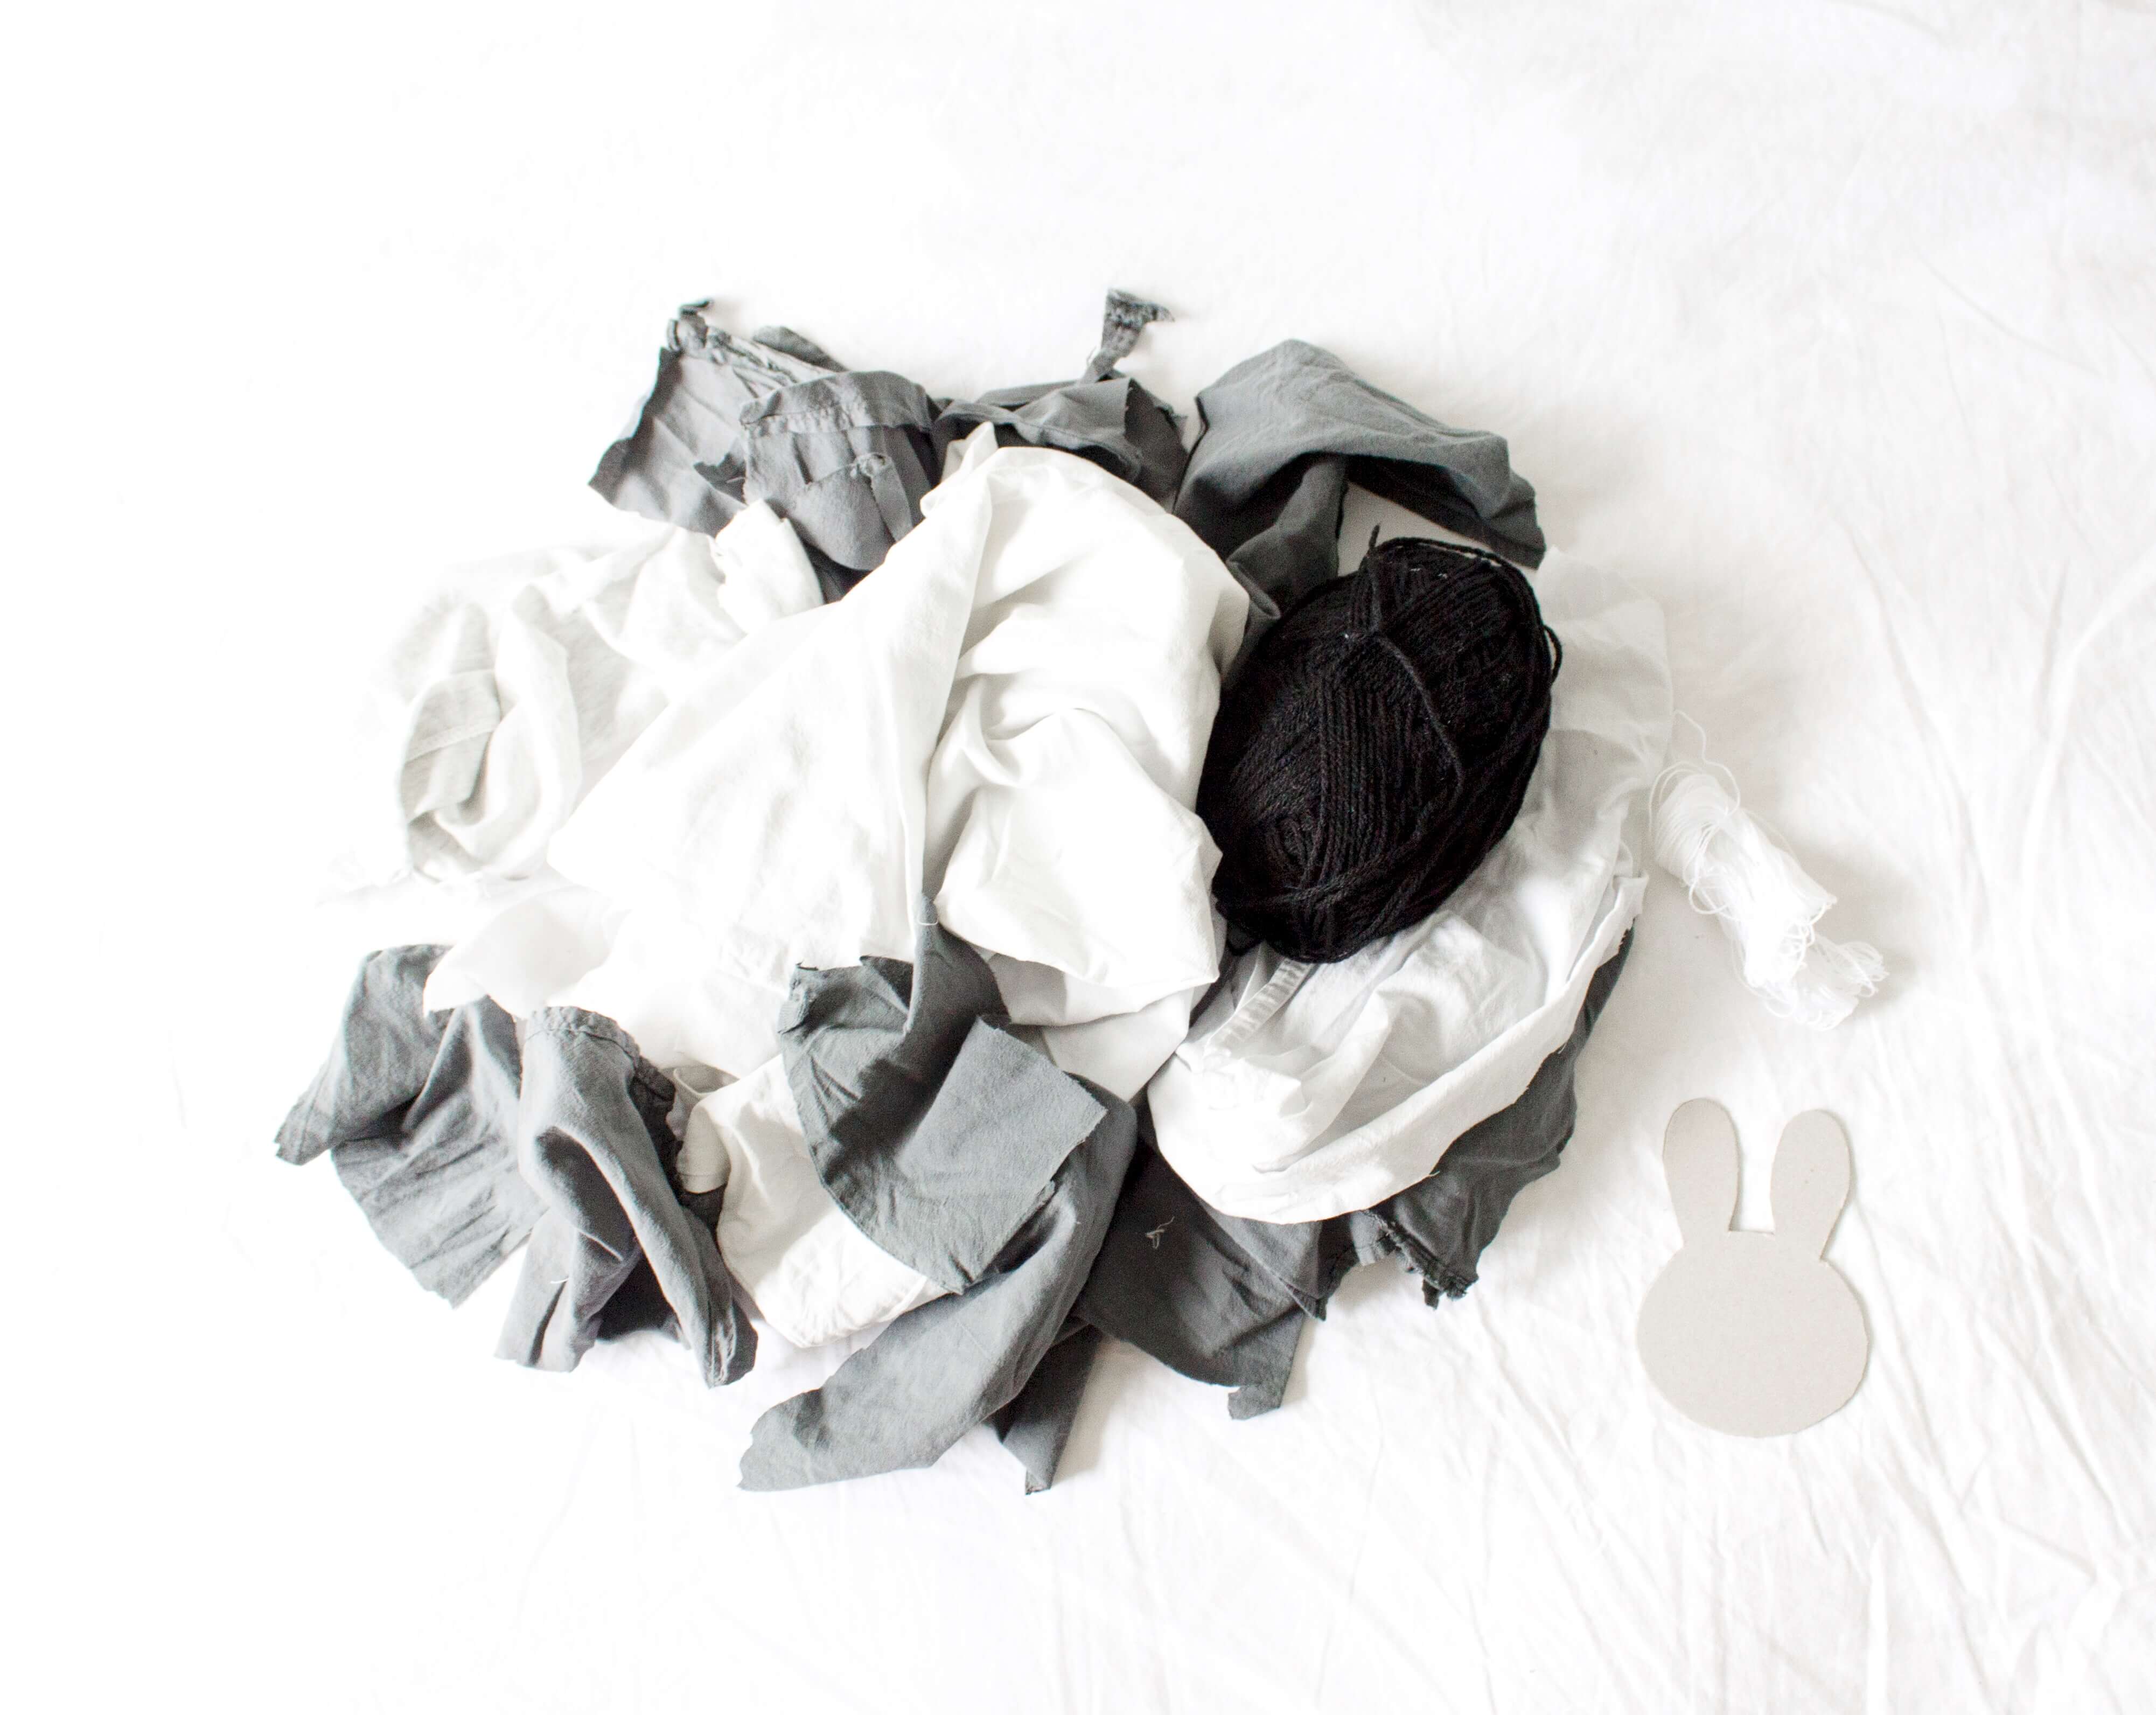
I had a pile of old linen pillow cases that I cut up into scraps and thought would be suitable for this project. Beautiful wool/polyester felt would suit these garlands even better, if you have any. Most people have old sheets or pillowcases hanging around and its a great way to recycle fabric. You don’t have to be an expert at sewing to create this garland (i’m definitely not) and Phoenix really loves these bunnies hanging in our apartment.
Let’s get started.
[What you’ll need]
Old sheets or pillow cases. I chose greys and whites for the ultimate Scandi-style look.
Black or white yarn for the bunny faces
Black, white or grey embroidery thread
White string
1 piece of thin cardboard
Pillow filling or excess yarn or excess fabric to fill the bunnies
a pen
a large embroidery needle for threading yarn
a small sewing needle for thread
1 chopstick
small scissors
washi tape to hang
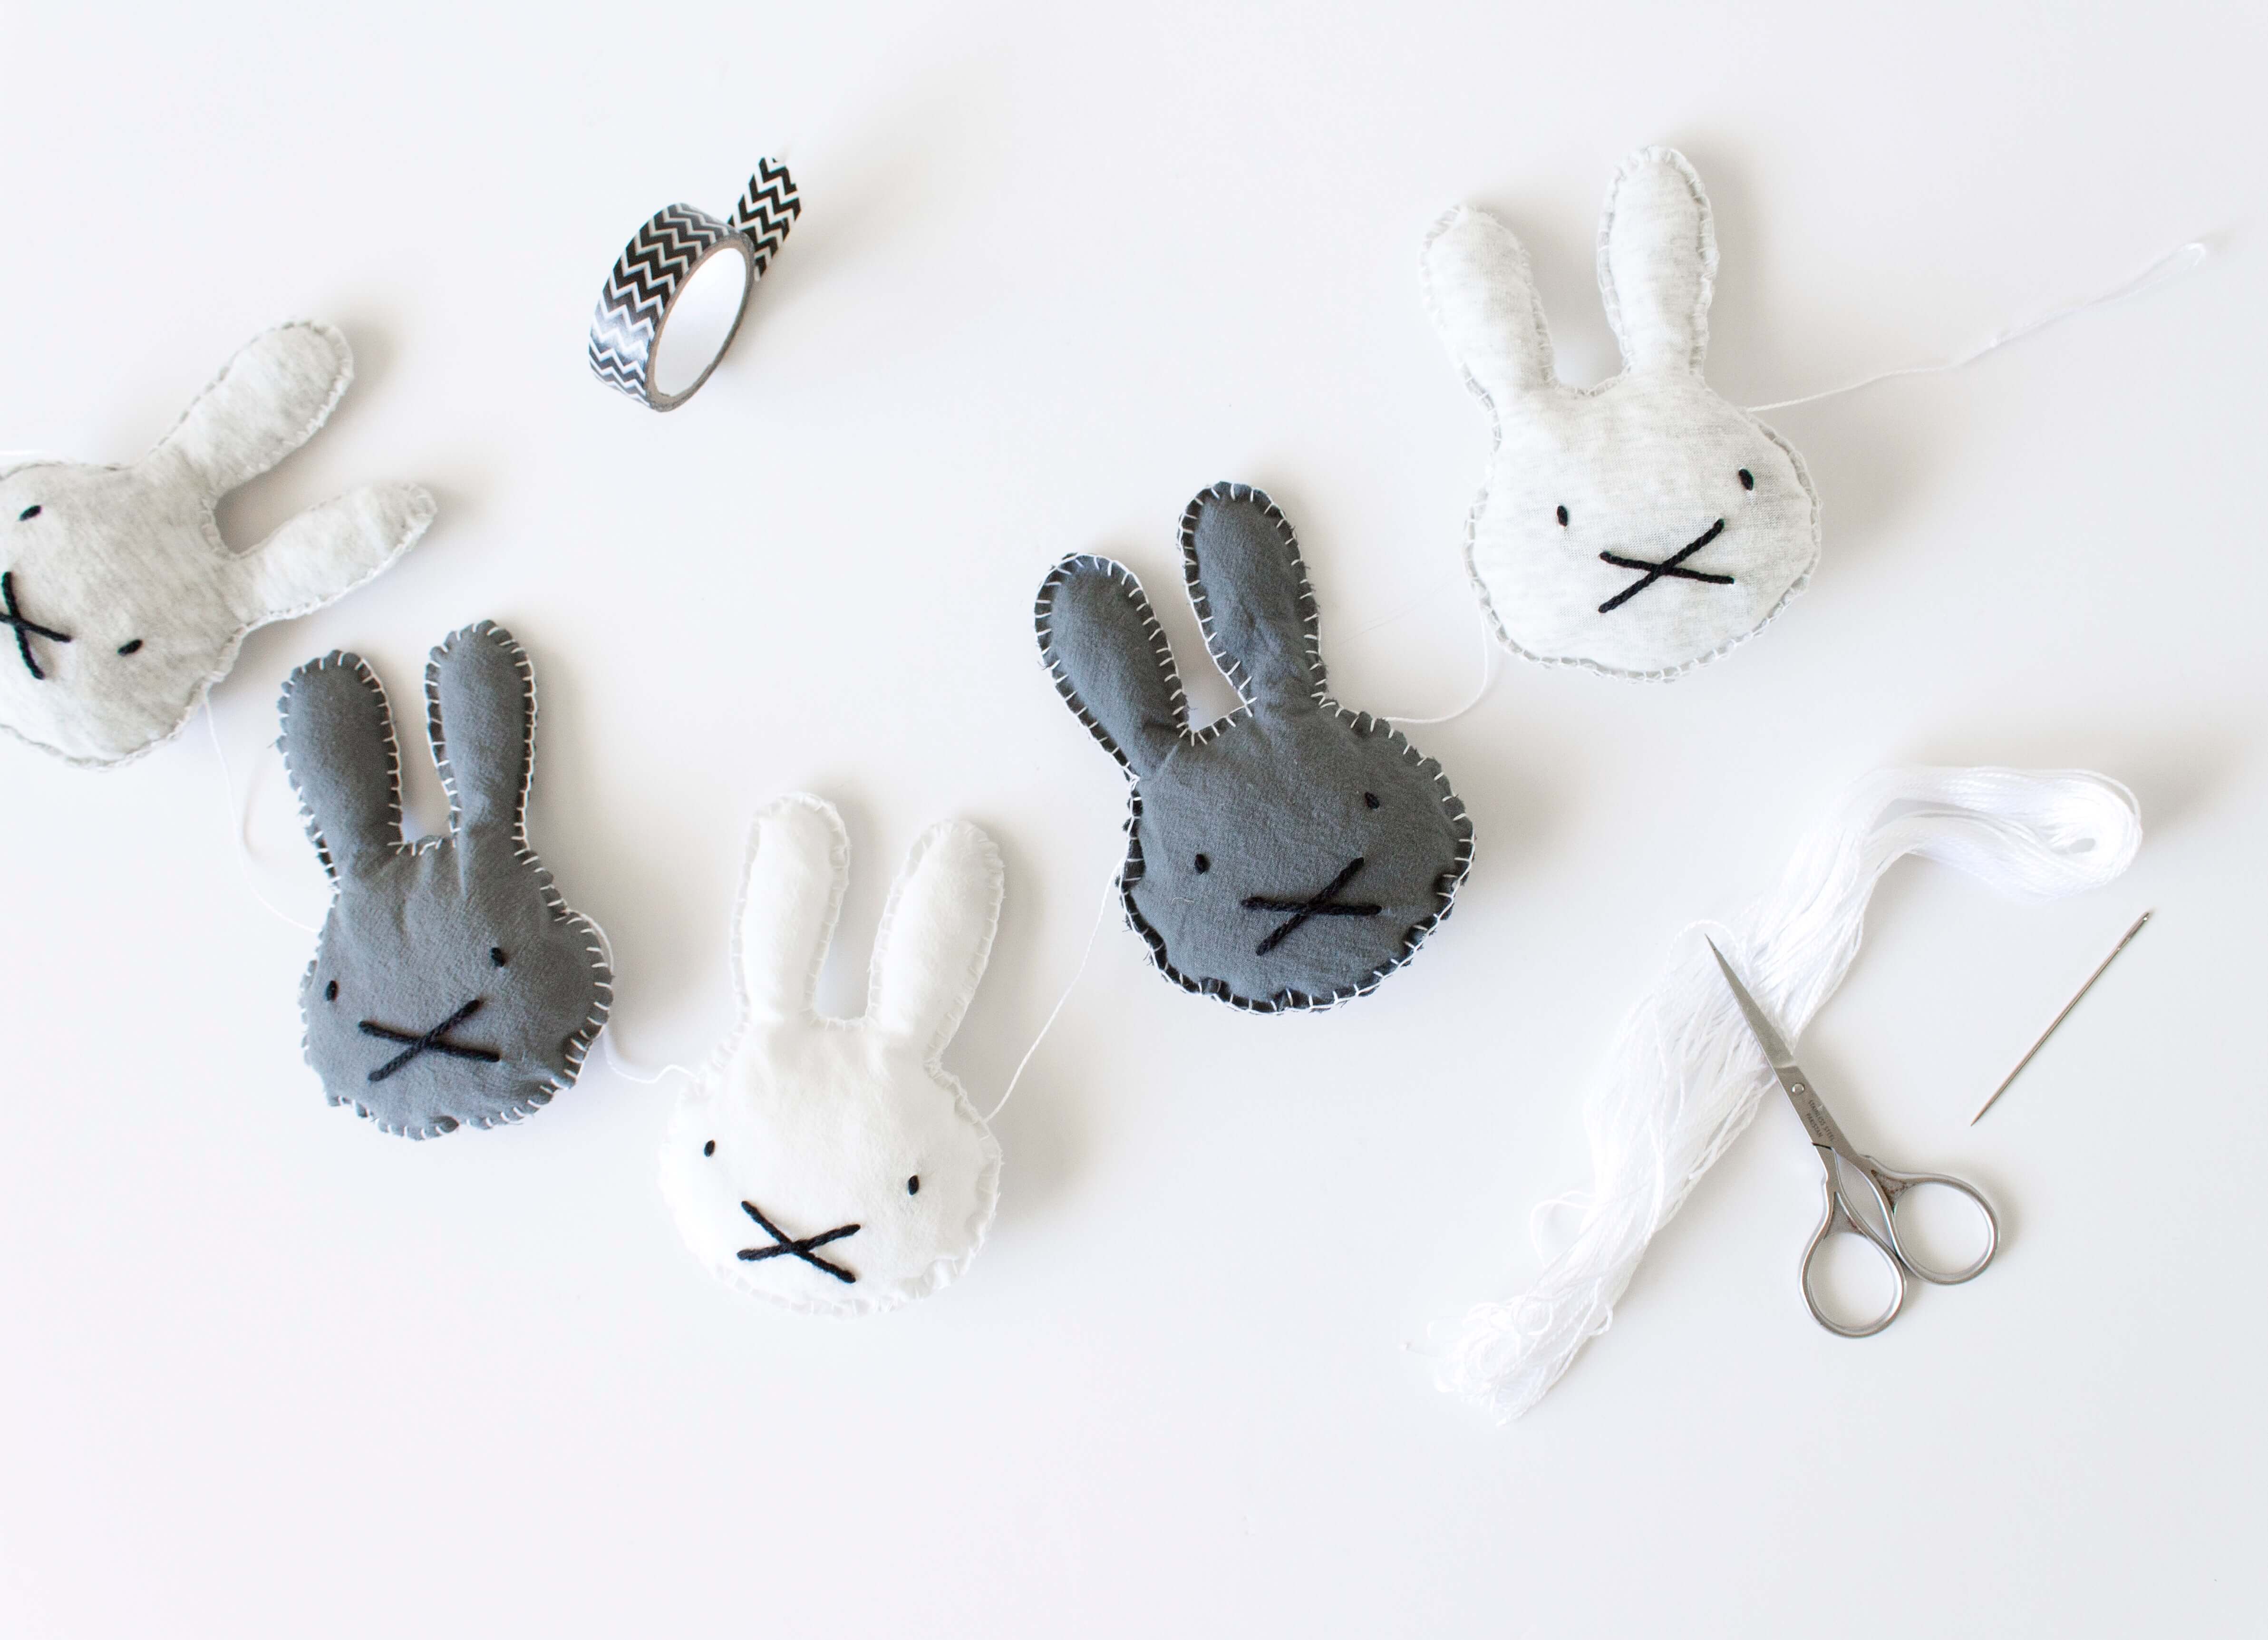
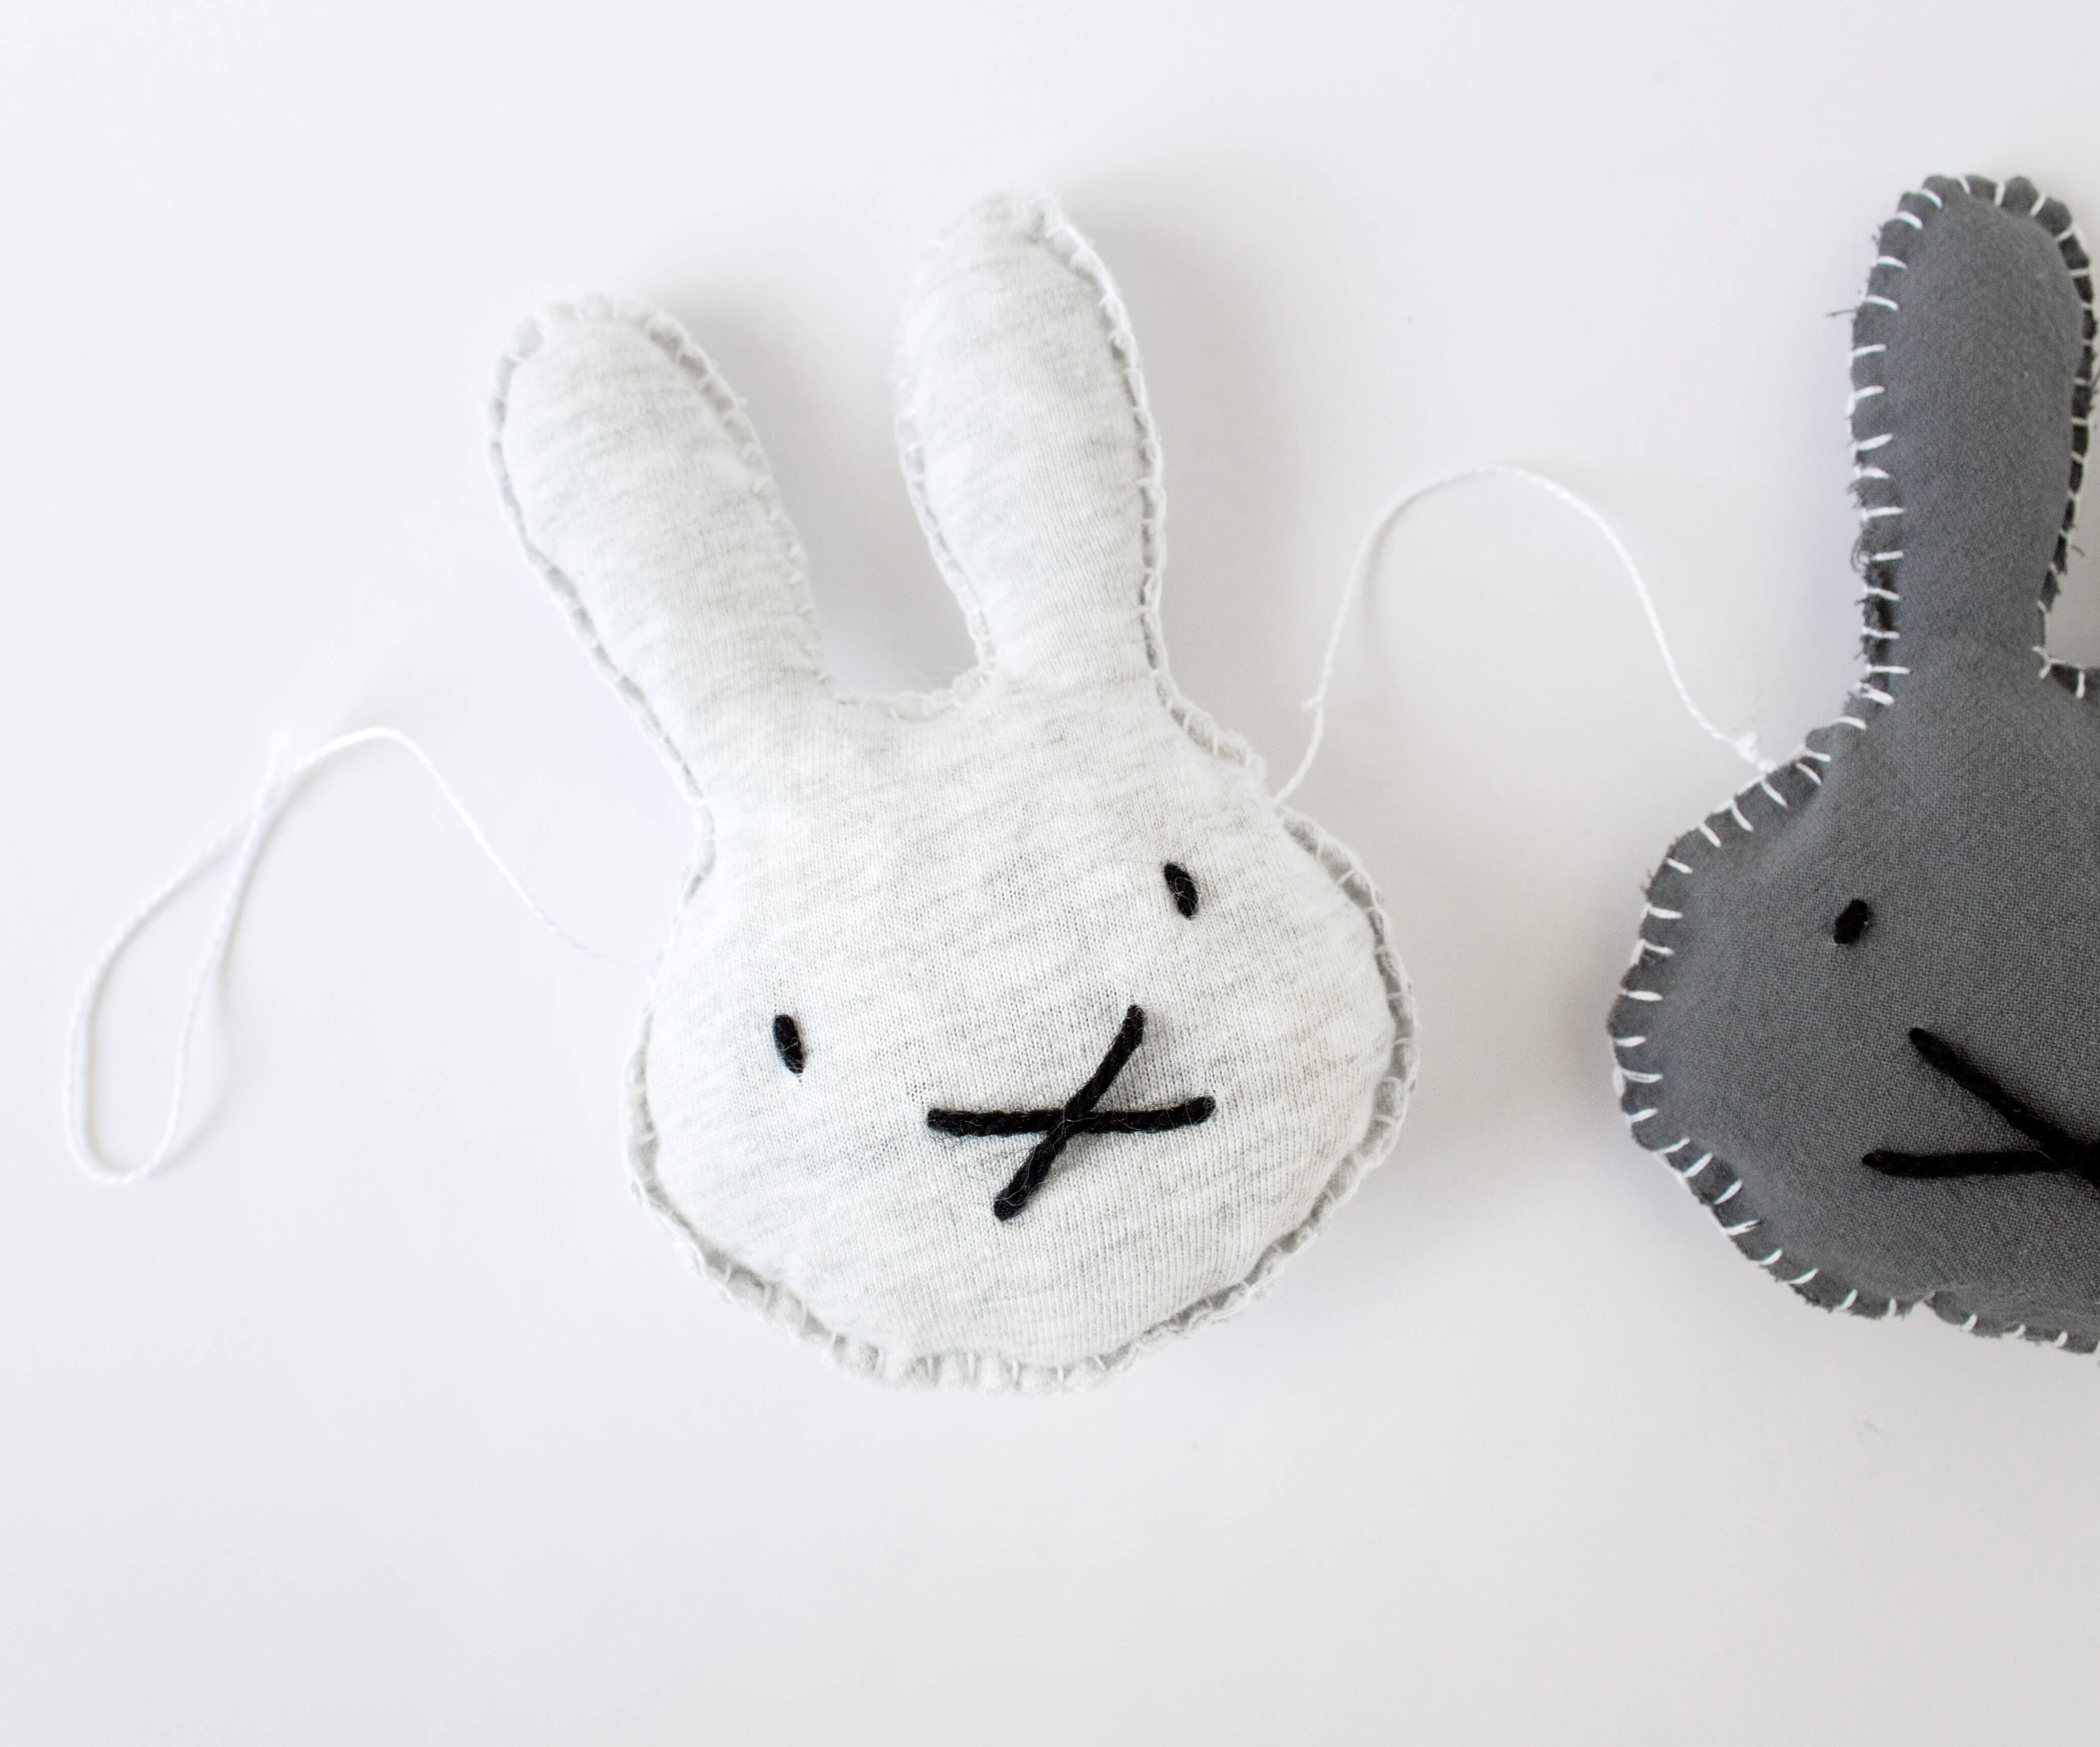
[How to Create]
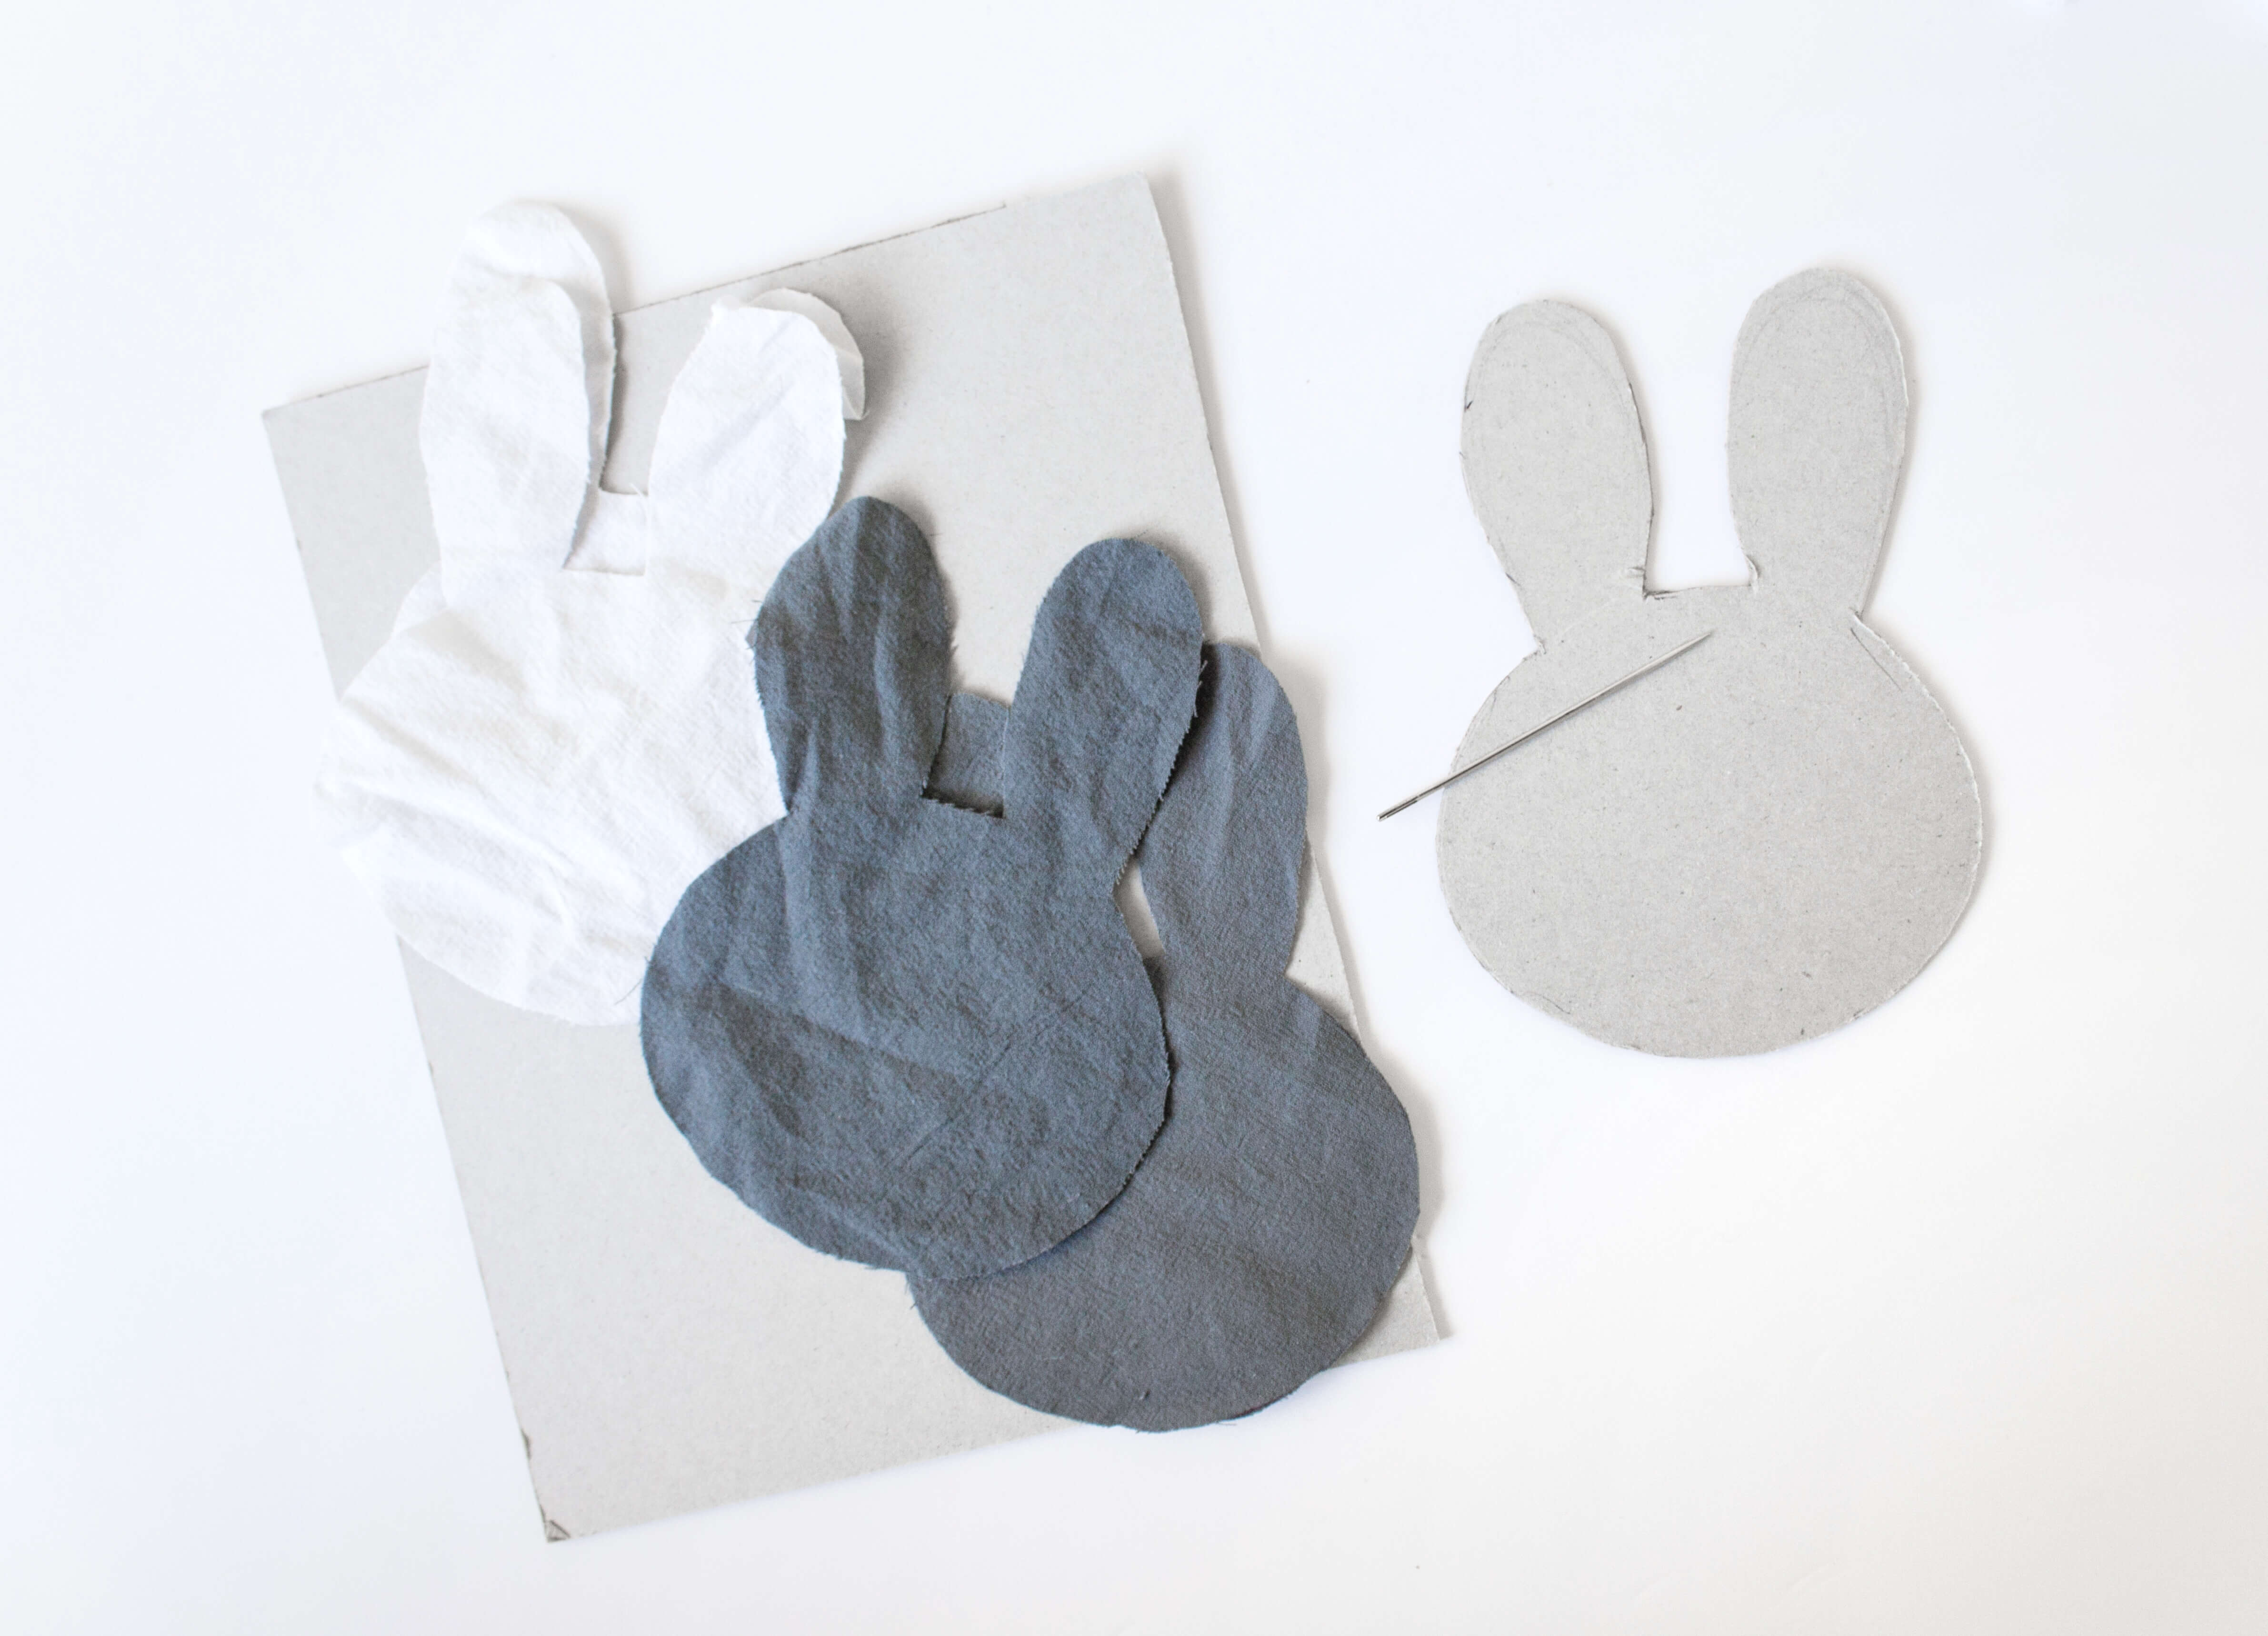
[Draw and Cut] a bunny head stencil approximately 13cm tall x 9cm wide on your piece of cardboard. [Trace] your bunny stencil with a pen onto your fabric and cut out 10 bunny heads. Keep in mind, you’ll need two sides for each colour of bunny. I cut out 4 dark grey, 4 light grey and 2 white bunny shapes. [Thread] your embroidery needle with black yarn and knot it at the end. On half of the bunnies, thread and knot the cross pattern for their mouths. Coming from behind, come up through the bunny and cross over diagonally and thread back through. Thread again to the front and thread diagonally across back through. Knot at the back and cut. Repeat until you’ve created 5 bunny mouths. Don’t worry too much about the crosses being perfectly the same. Then, knot your yarn again and thread the eyes. [Thread] your smaller needle with your white, black or grey thread to begin stitching the bunnies together. Double the thread and knot it. When threading the bunnies, I used a method called the blanket stitch. If you are new to sewing, check out this simple video to see how. Once you’re ready, layer one of your bunny faces with the same colour of a plain bunny. Begin stitching from the left ear and work your way around both ears first. Once the ears are stitched, fill them with your pillow filling or scraps of yarn/fabric. Use your chopstick to assist gently filling the ears. [Continue stitching] your way around the bunny face until you reach 2-3 fingers width left. Fill the remainder of the bunny with pillow filling and then complete the stitch until you reach the spot where you began on the left ear. Double knot your thread and cut. [Stitch] the rest of your bunnies. [Cut] a piece of string approximately 100cm long and thread through your embroidery needle. [Thread] it through your bunnies just below the ears one by one in the colour order you desire. Note that the bunnies may slide across your string when hung. If you would like them to stay into place, double knot the string after each bunny is threaded about 8cm apart. [Fold] over the two ends and knot to create a nice loop for hanging. I used pattern washi tape to hang my garland.